If you’re new to the aquarium hobby or looking for a compact, stylish setup for your office or desk, a beginner nano tank is an excellent choice. Today, I’m excited to walk you through building the Lifegard 1 Gallon Nano Cube Rimless Aquarium Kit — a tiny but complete aquatic world perfect for shrimp and snails. This kit is not only beginner-friendly but also packs some impressive features that make it stand out in the nano tank category.
Let’s dive into the unboxing, assembly, and setup of this adorable aquarium, and I’ll share some tips to create a thriving little aquatic environment.
Table of Contents
- Unboxing the 1 Gallon Nano Kit: What’s Inside?
- Step-by-Step Assembly: Putting Your Nano Tank Together
- Decorating Your Nano Tank: Substrate, Rocks, and Plants
- Filling and Starting Your Tank: Water and Cycling
- Choosing Your Inhabitants: Shrimp and Snails
- Why Choose a Beginner Nano Tank?
- Frequently Asked Questions (FAQ)
Unboxing the 1 Gallon Nano Kit: What’s Inside?
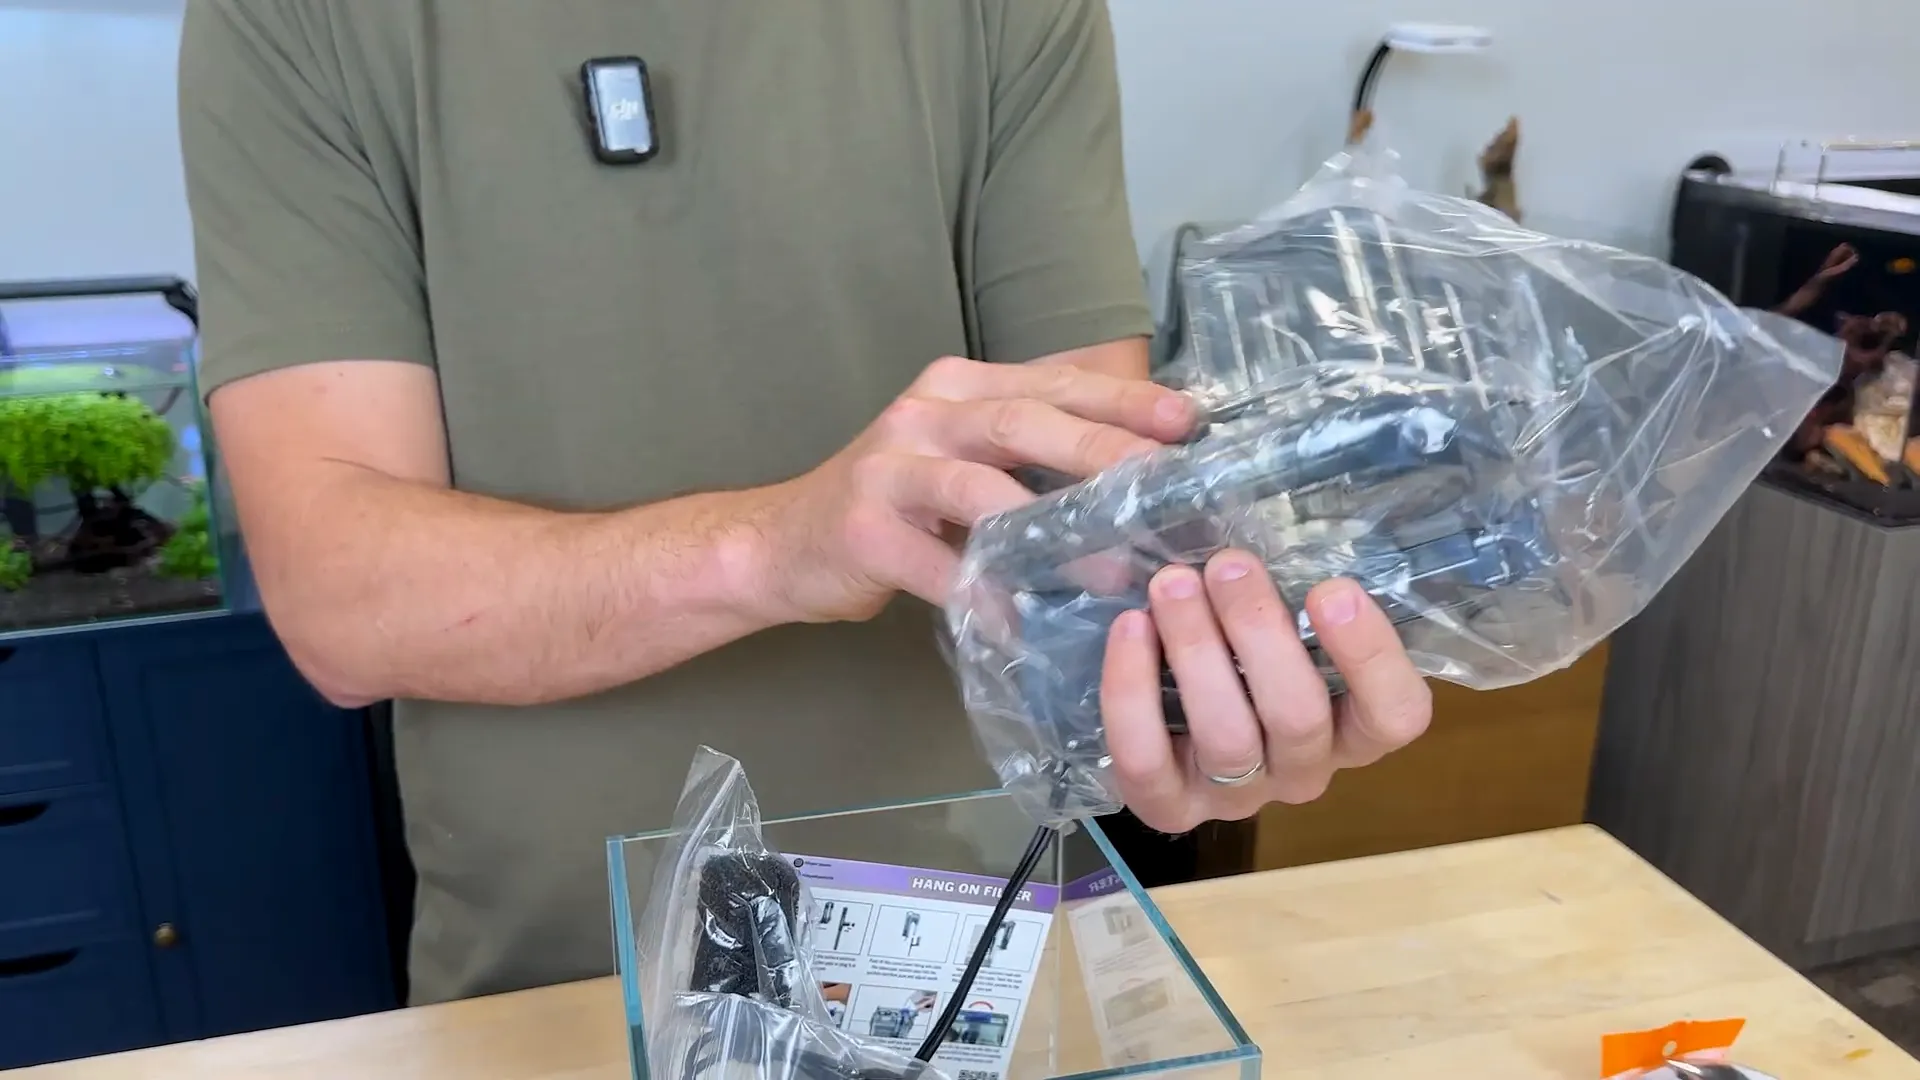
The first thing that surprises you about this kit is its size — it’s incredibly compact, yet it comes with everything you need to get started. Opening the box for the very first time, I found:
- A small but powerful hang-on-the-back (HOB) filter with multiple filtration layers including fine filter pads, medium coarse pads, and activated carbon.
- A tiny LED aquarium light, perfect for low-light plants like Anubias.
- A heater with suction cups for easy attachment.
- An algae pad to help keep the glass clean.
- A leveling pad for stability.
- Color-coded, easy-to-follow instructions covering the filter, light, heater, and entire setup.
The kit is thoughtfully designed, offering more than enough equipment for the 1-gallon setup, and it’s compatible with larger 2-gallon and 3-gallon versions as well. The filter, in particular, is versatile enough to be used in bigger tanks if you decide to upgrade in the future.
Step-by-Step Assembly: Putting Your Nano Tank Together
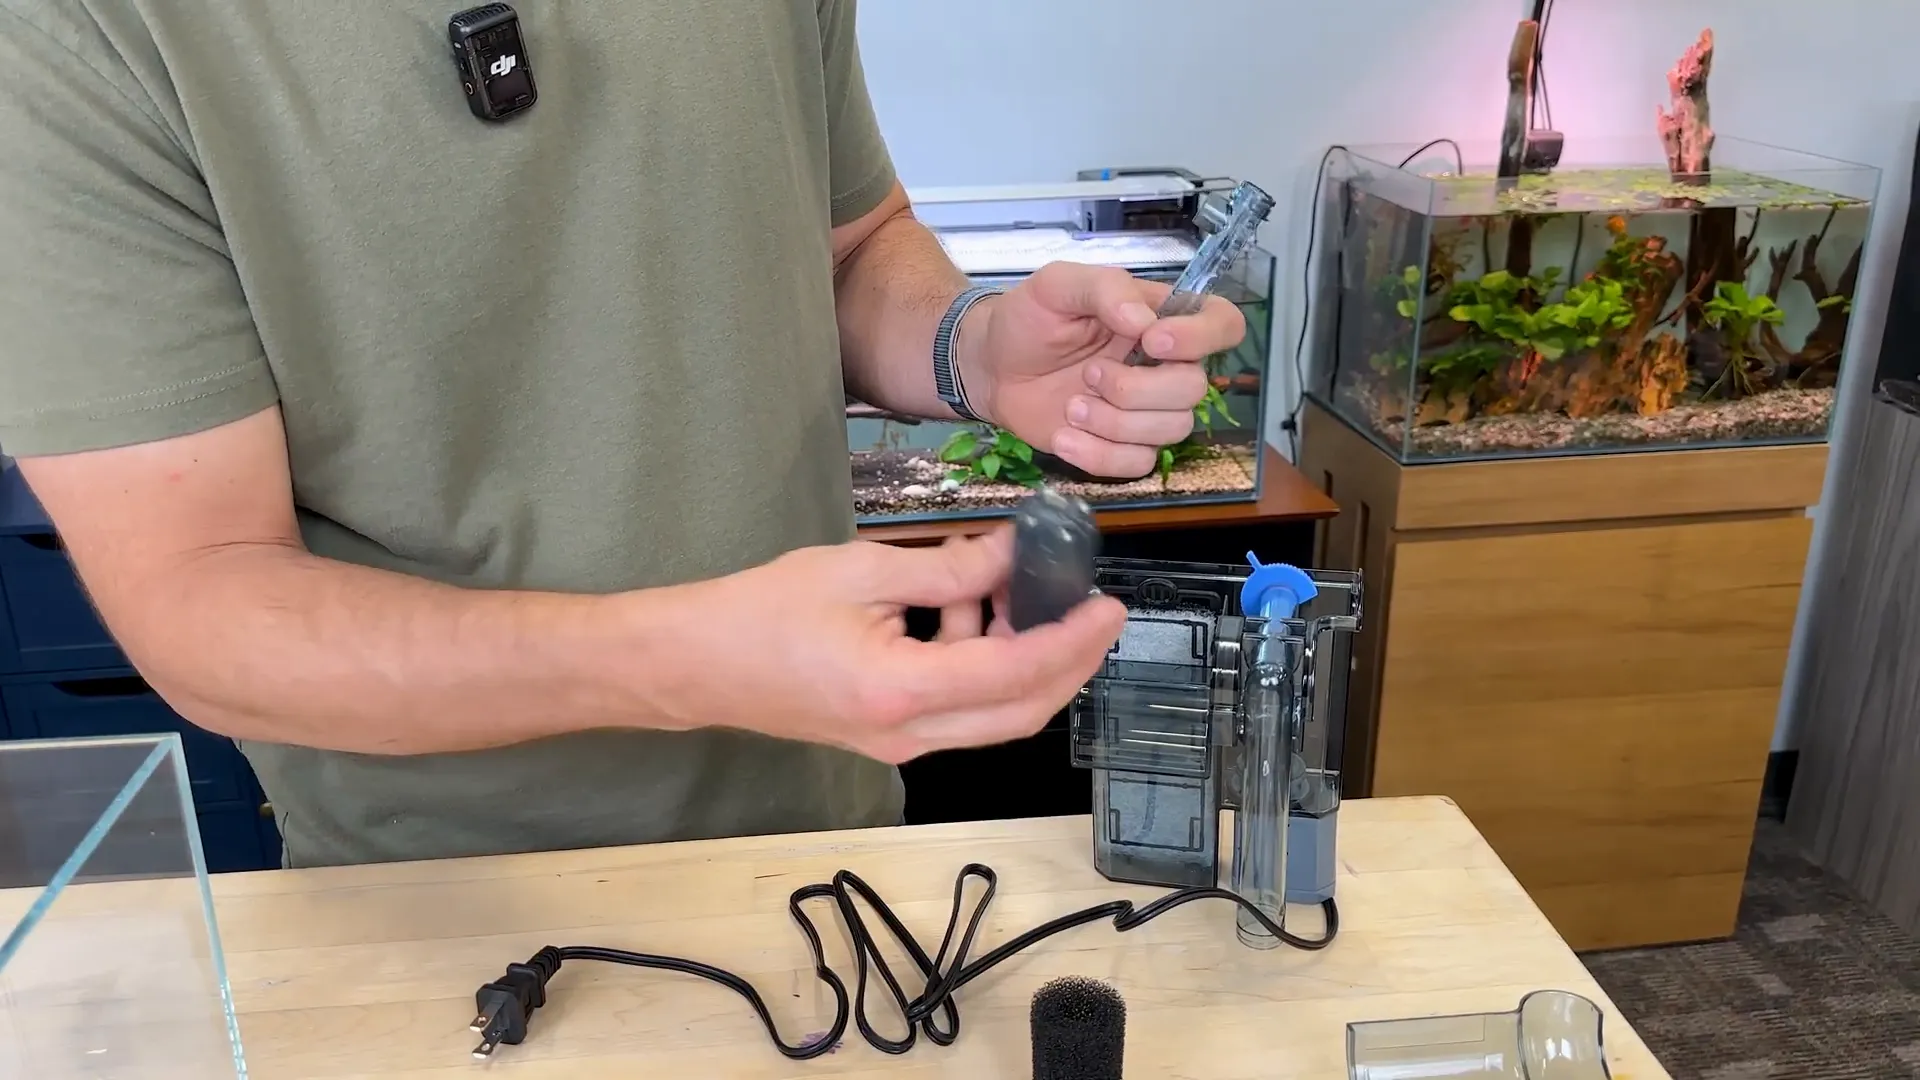
Filter Assembly
Starting with the filter, the assembly is straightforward. The main filter unit slots right into the motor, which features adjustable speed settings — quite impressive for such a small setup. Inside, you stack the filtration components in this order:
- Fine filtration pad
- Medium coarse pad
- Carbon pad
There is also an optional surface skimmer attachment that helps break surface tension on larger tanks. For this 1-gallon tank, I skipped this and used the provided plug instead to keep things simple.
To protect the shrimp and snails from the filter intake, I placed a piece of foam over the filter opening. This helps prevent any accidental suction and keeps debris from clogging the system.
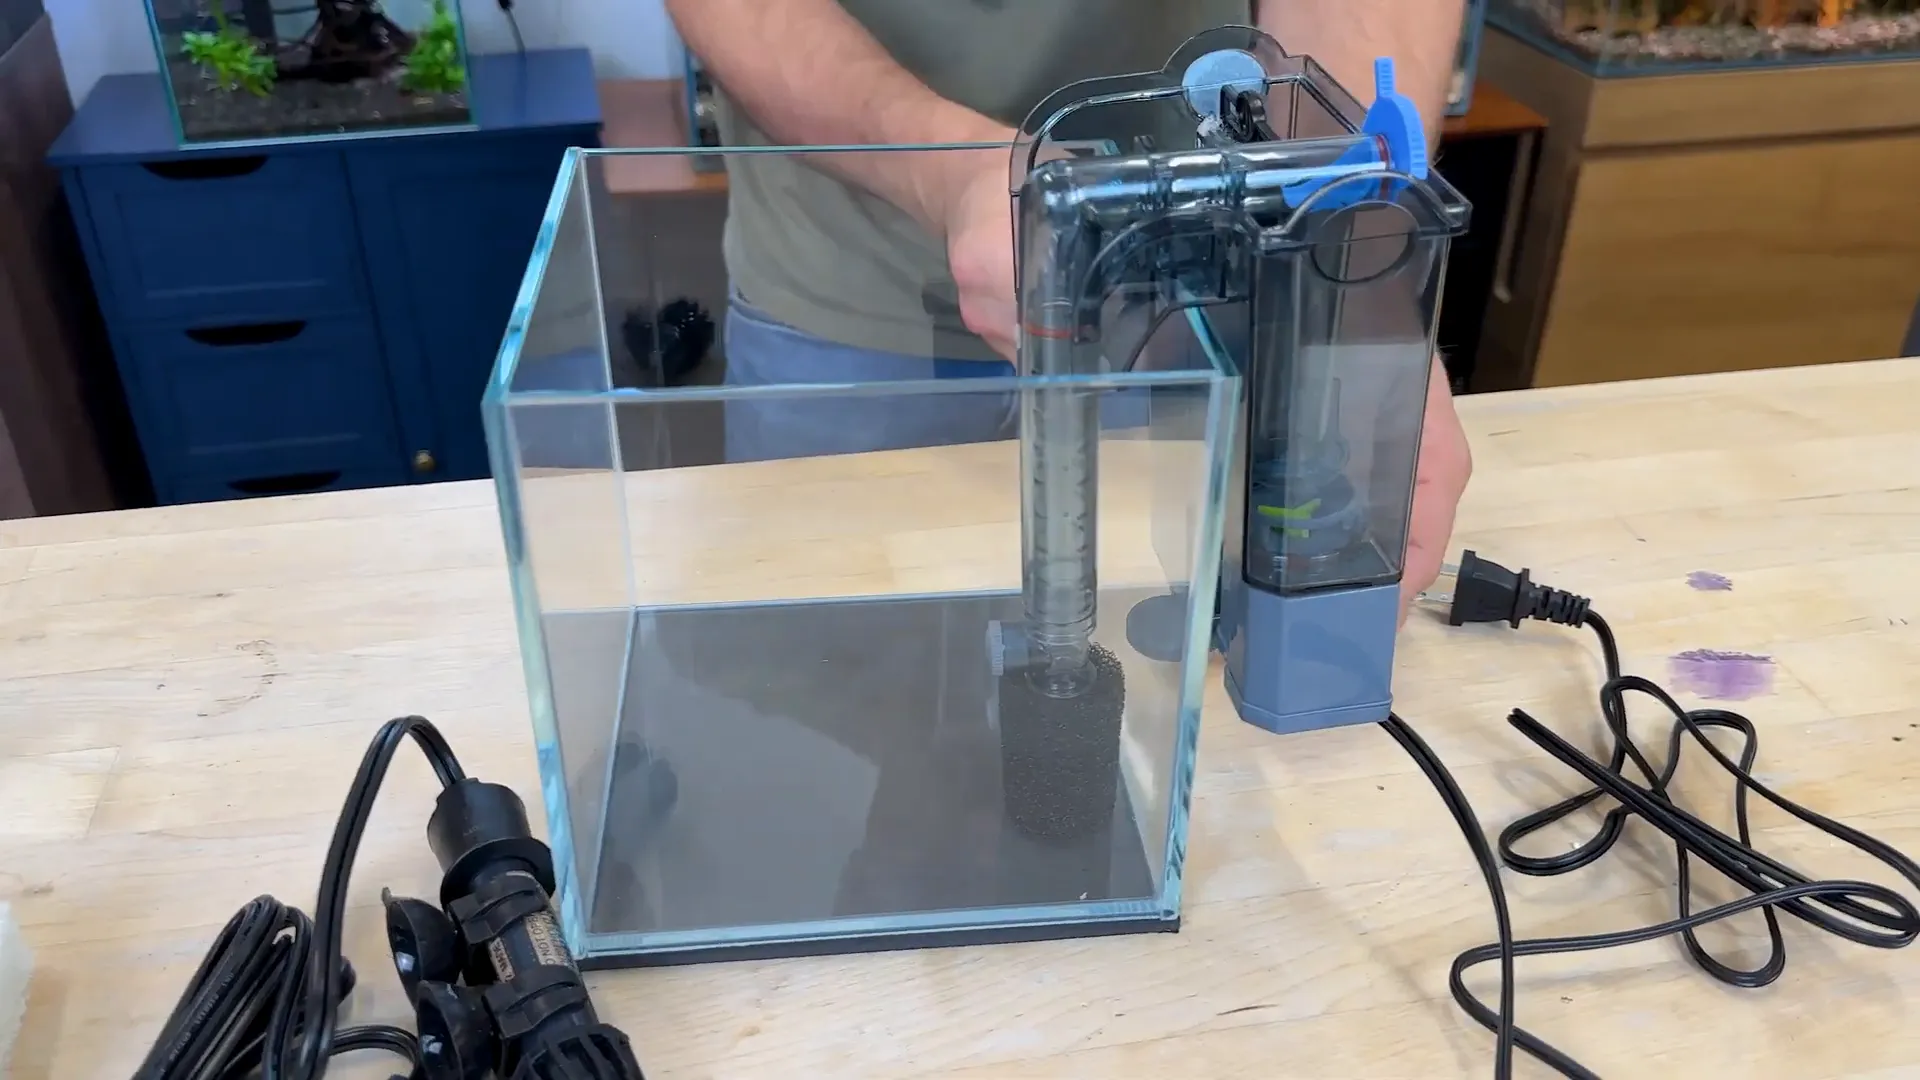
Attaching the Filter and Heater
The entire filter assembly hooks onto the back of the tank. The design allows you to adjust the angle to keep it flush against the glass, which is great for a clean look. Next, the heater attaches with suction cups to the back wall. You can position it vertically or horizontally depending on your preference, but I opted to place it vertically for convenience.
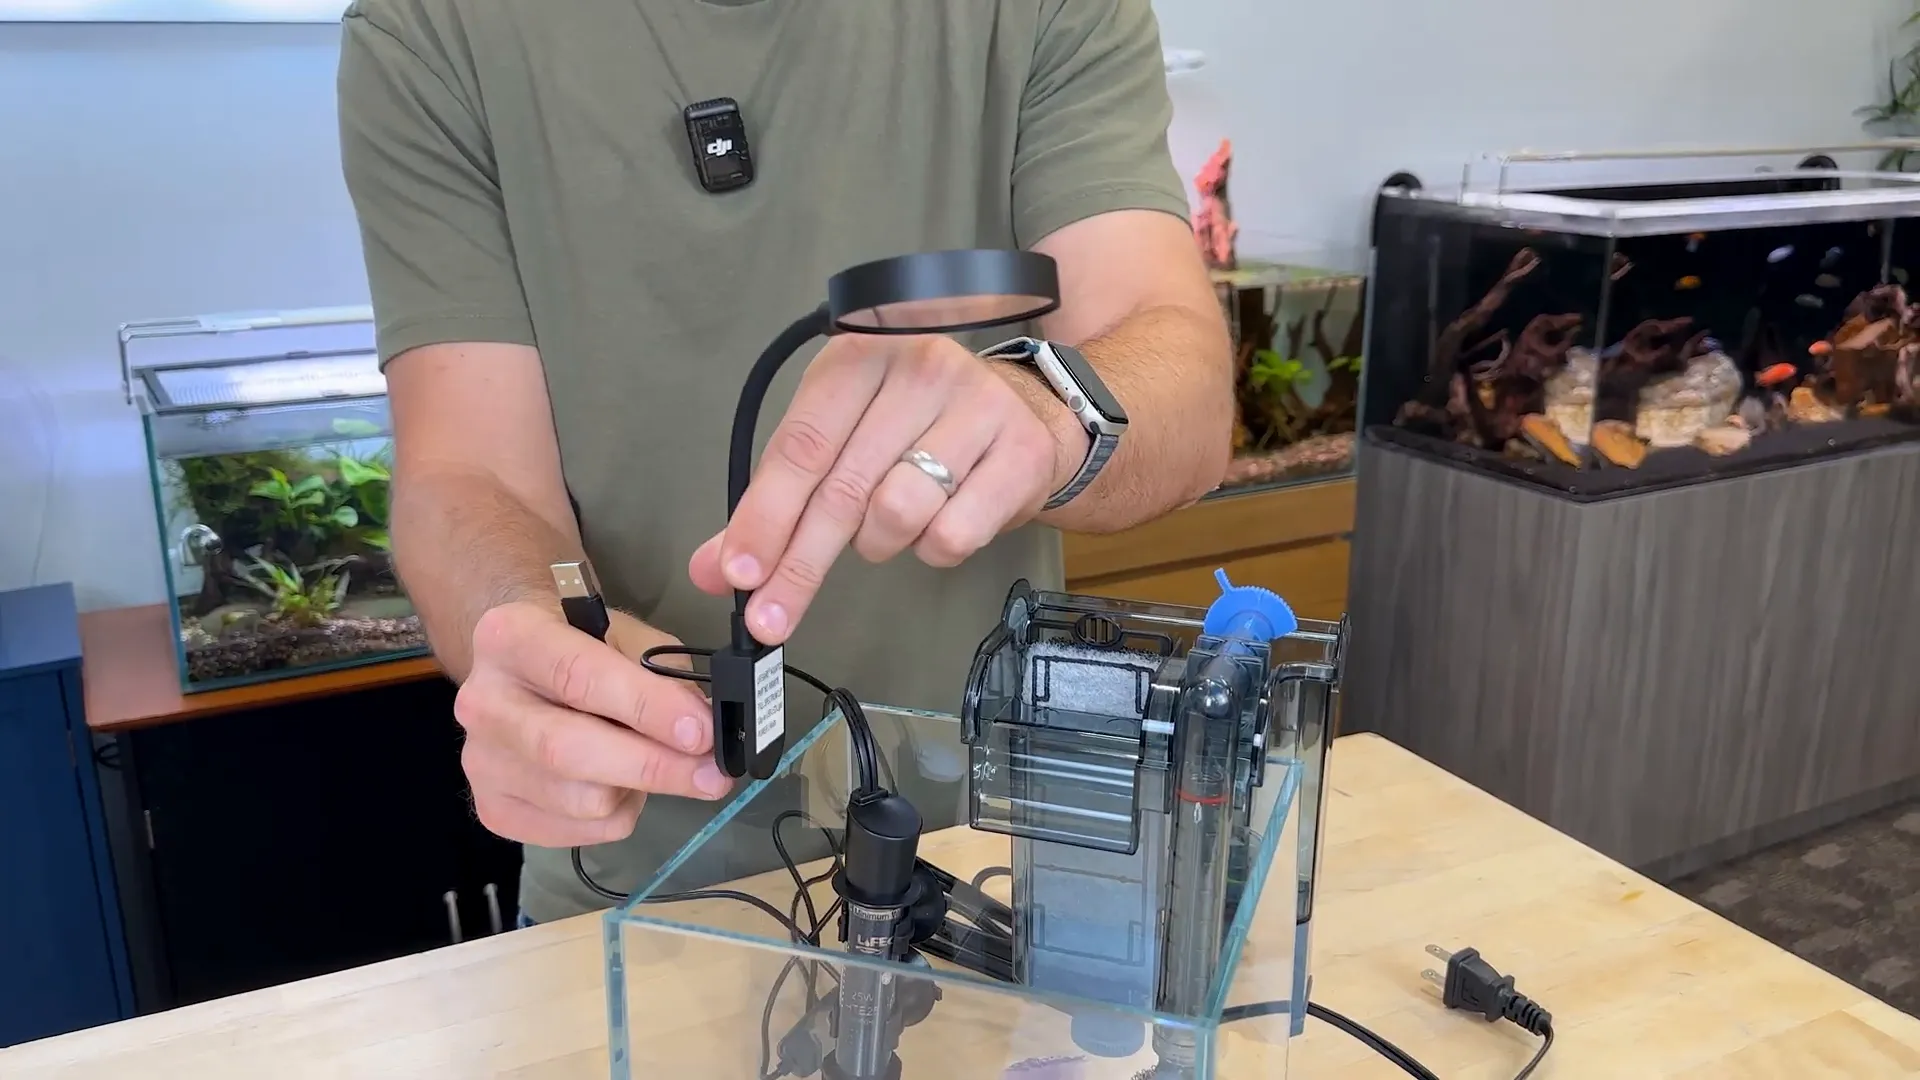
Installing the LED Light
The aquarium light is tiny but bright enough for low-light plants like Anubias. You can mount it on the top or side edges of the tank. I chose to screw it onto the side for a neat aesthetic and to give the plants enough light to thrive.
Decorating Your Nano Tank: Substrate, Rocks, and Plants
Once the hardware is set, it’s time to add some personality and environment for your aquatic friends. For small setups like this, I recommend sourcing substrate and decor from specialist suppliers like Aqua Naturals, which offer smaller bags perfect for nano tanks.
For the substrate, I laid down a thin bed of fine gravel — just enough to cover the base without overcrowding the tank. Then, I added a few lava rocks from the Beta World line, arranging them to create a simple island formation that complements the cube shape of the tank.
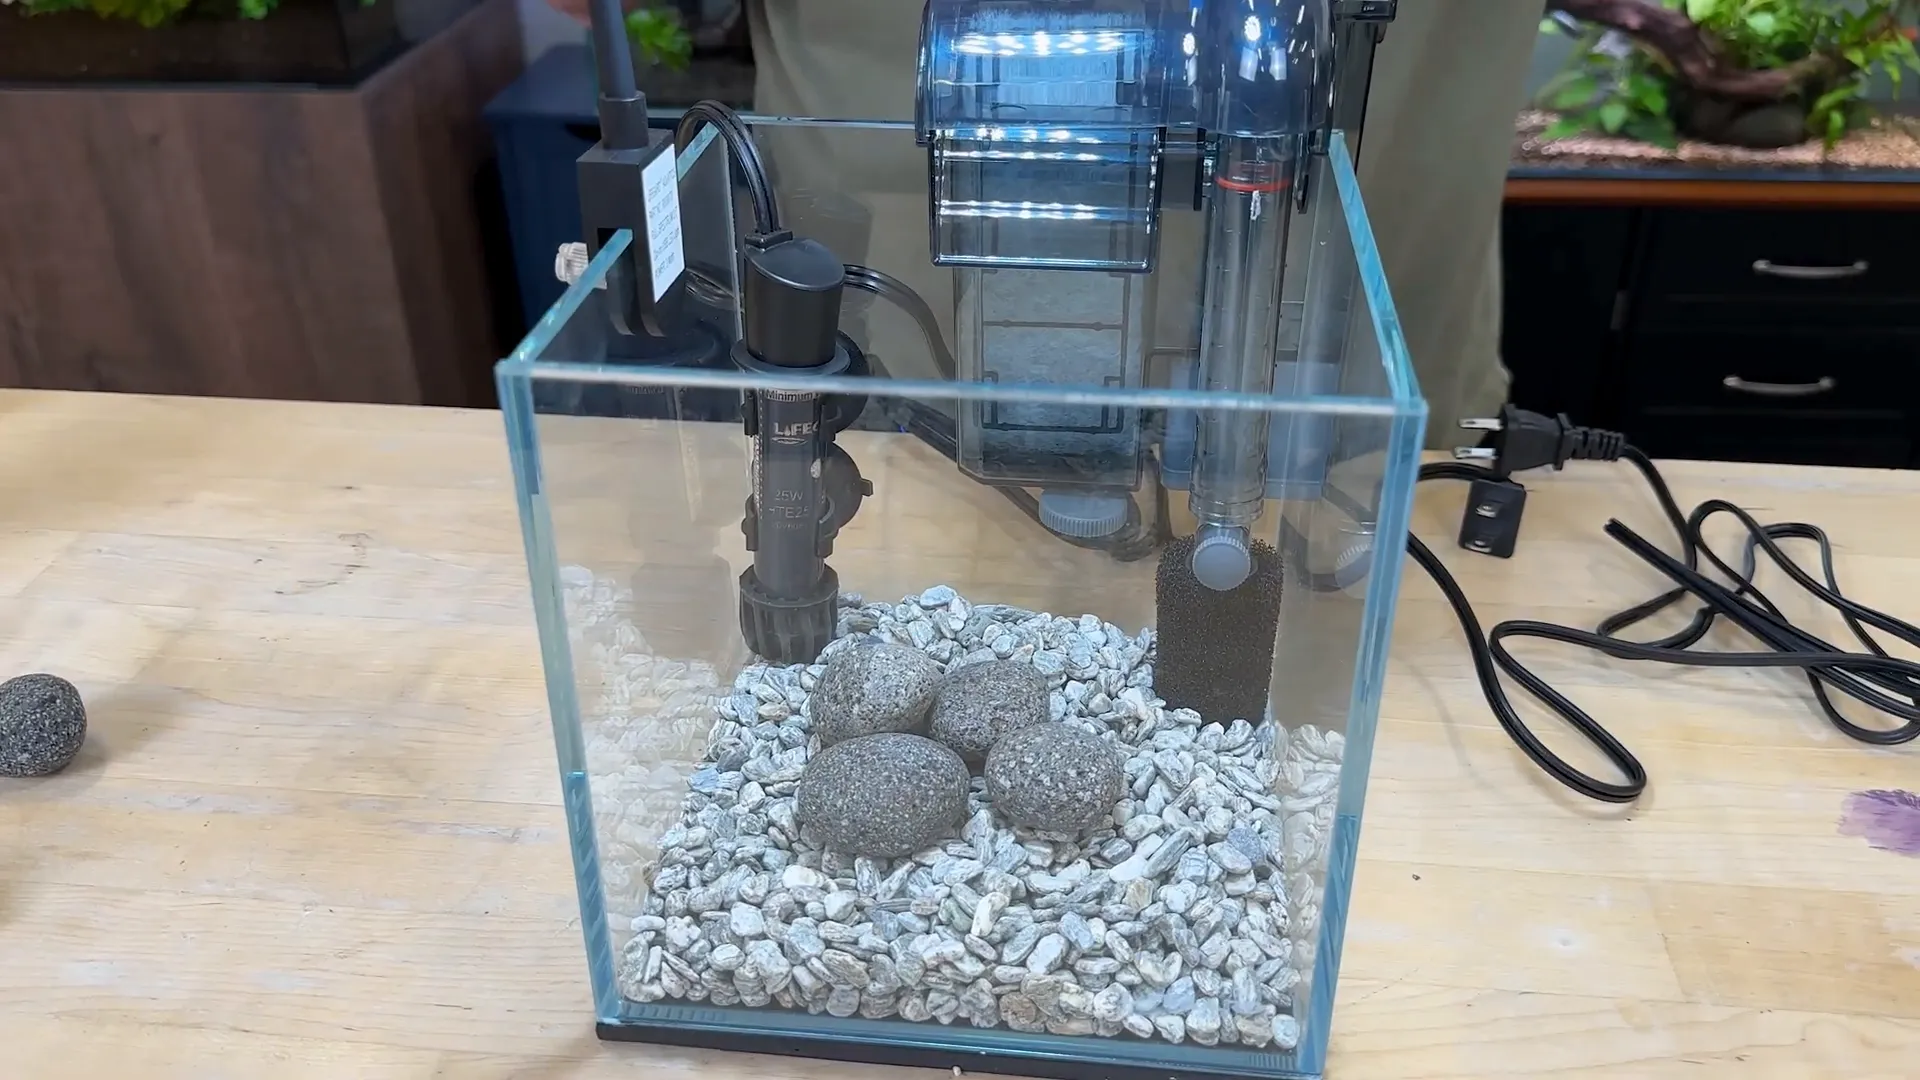
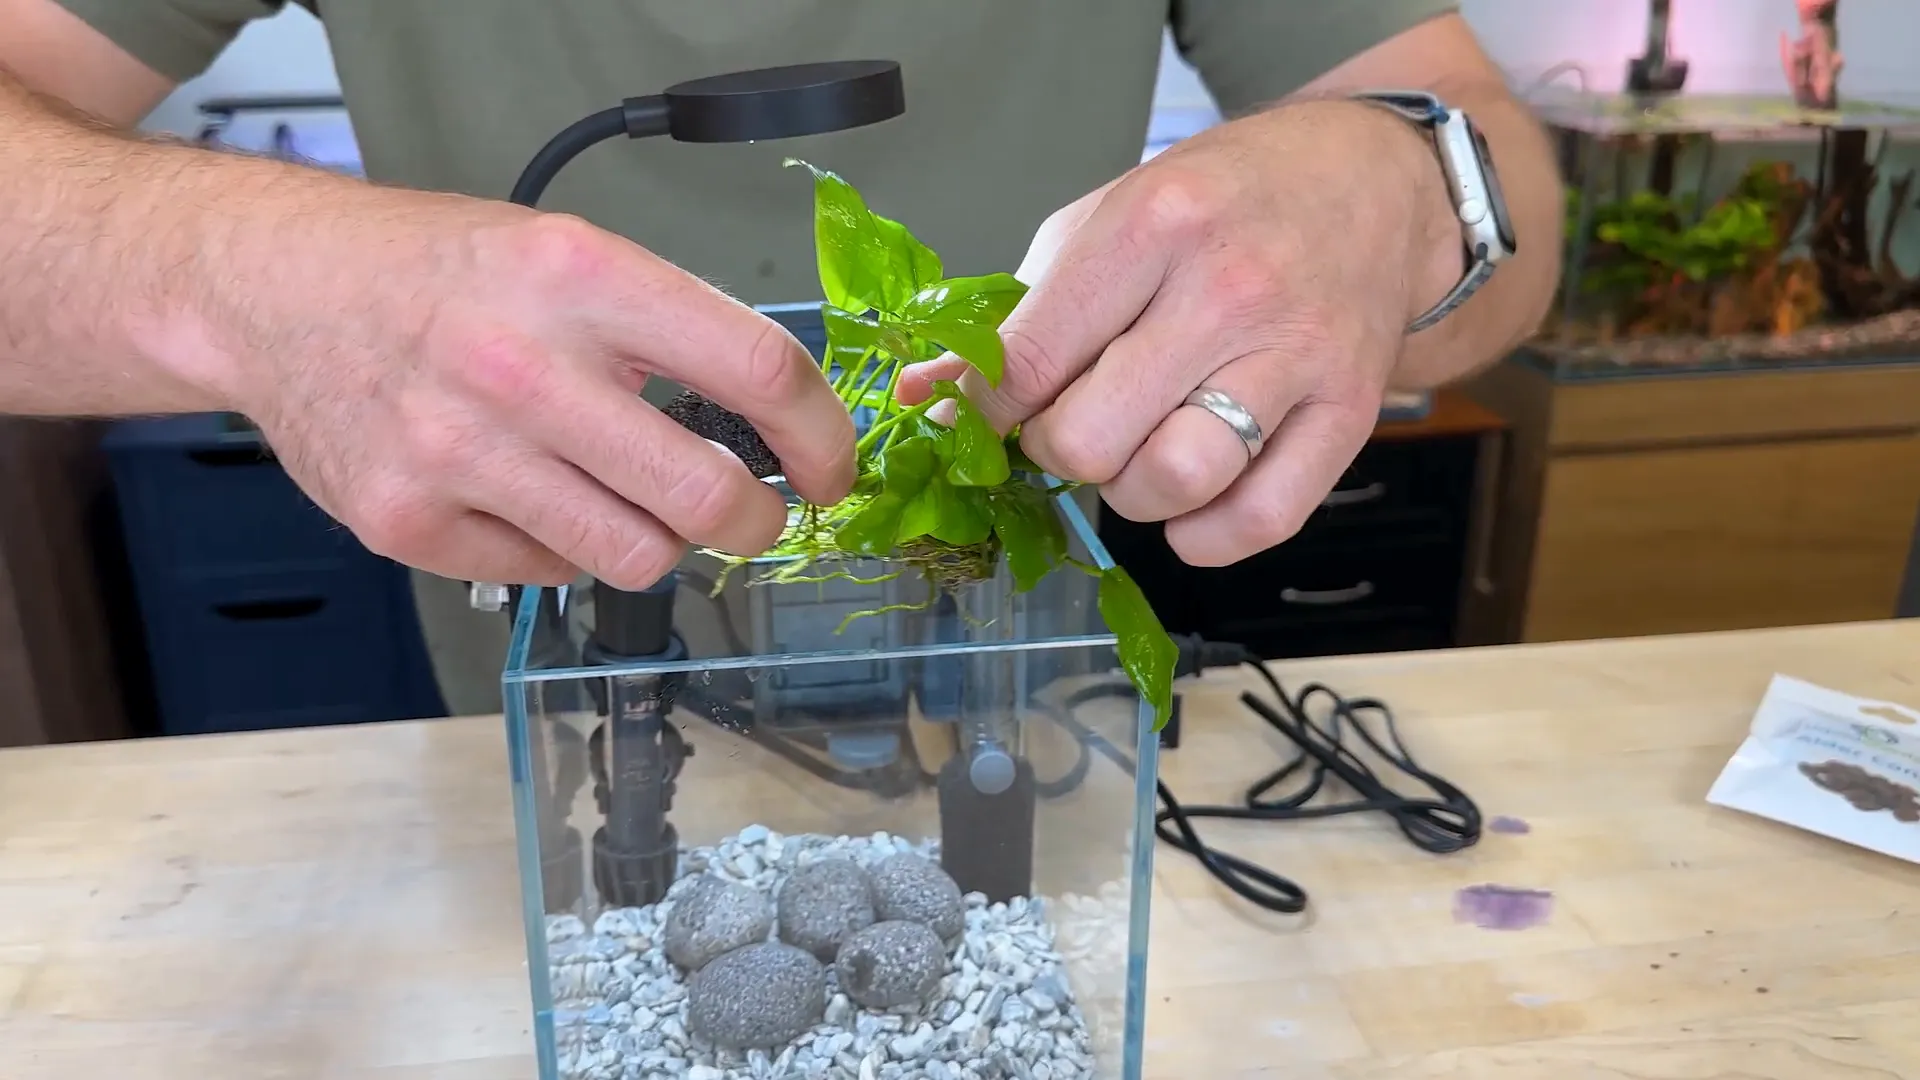
For plants, I went with Anubias golden, a hardy, low-light plant that doesn’t require soil. Anubias grows from a rhizome and its roots can float freely in the water column, so it’s important not to bury the rhizome. I gently nestled the roots into the rocks to anchor the plant in place, preventing it from floating up.
Filling and Starting Your Tank: Water and Cycling
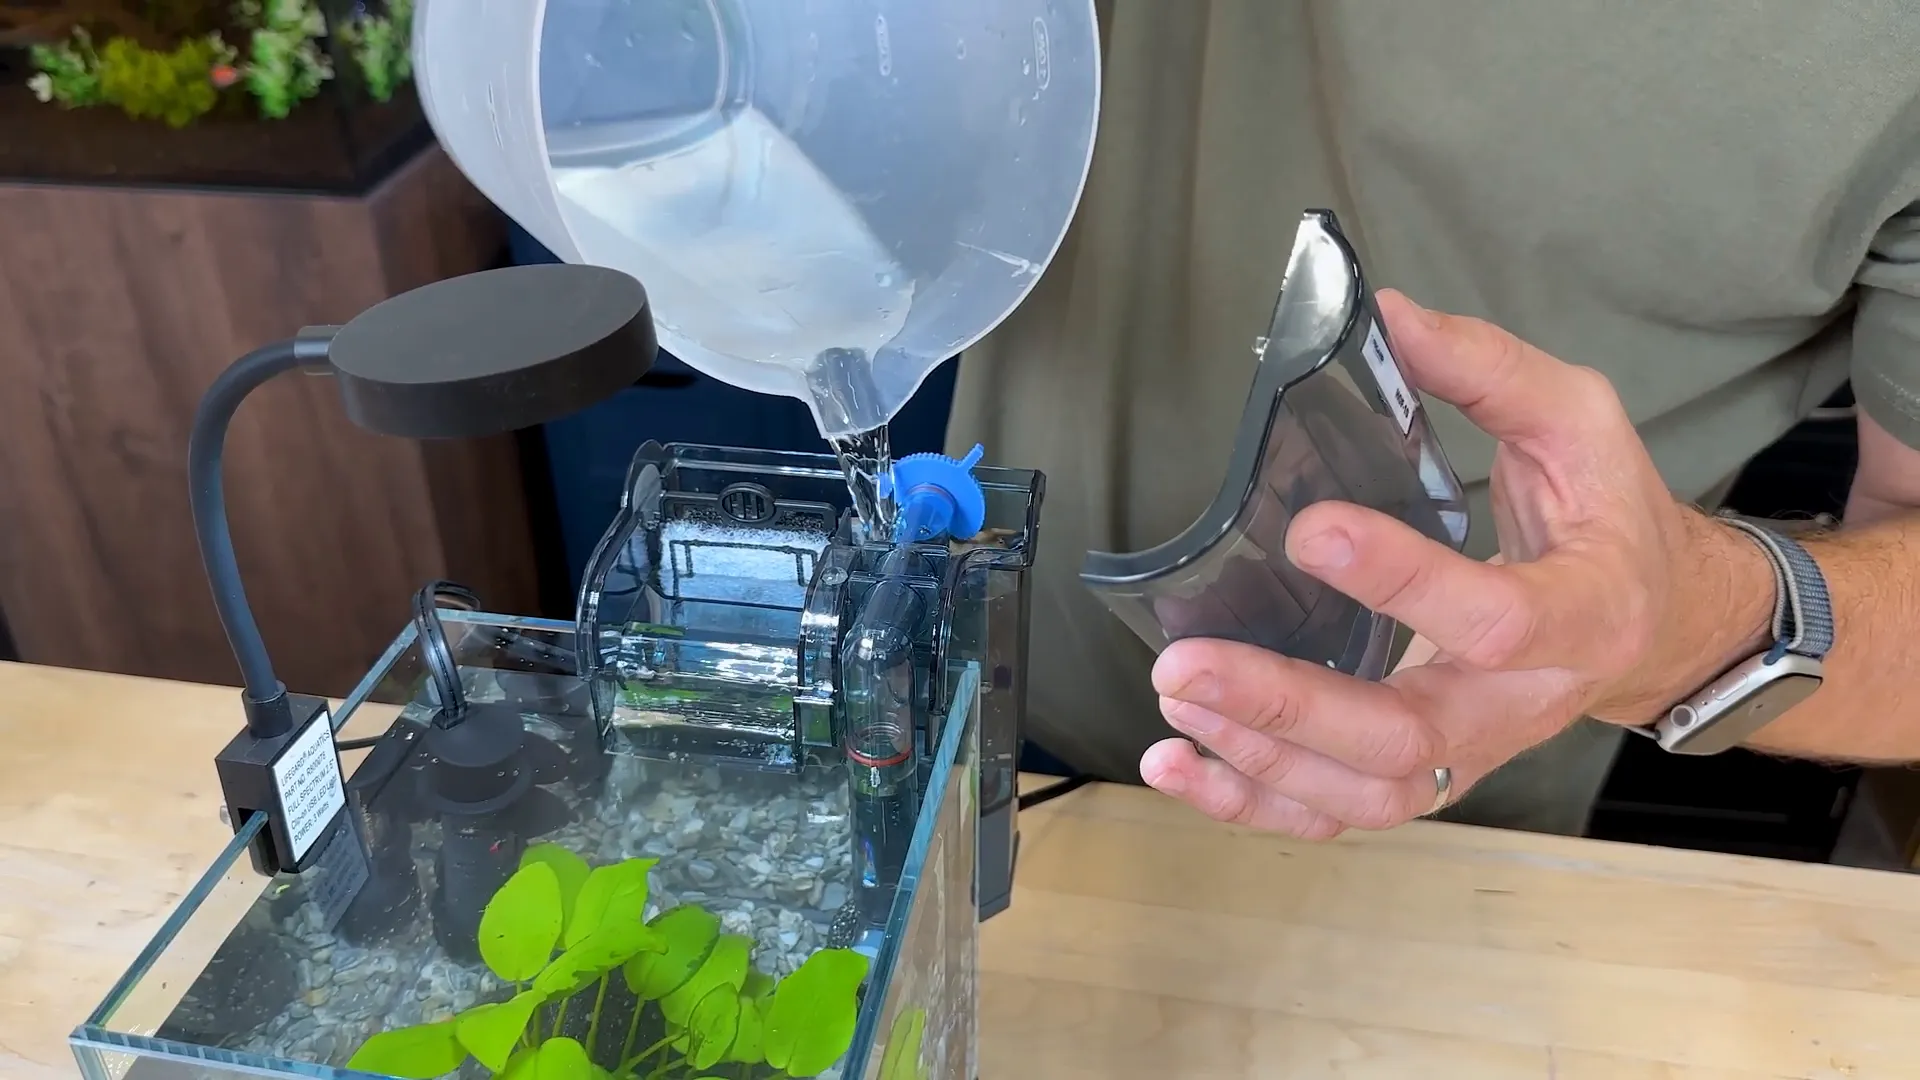
Filling the tank is best done gently to avoid disturbing the substrate or plants. I poured dechlorinated water slowly, bouncing the stream off a rock to minimize disturbance.
To ensure the filter pump primes correctly, pour some water directly into the back where the filter intake is located. This step prevents pump damage and gets the system running smoothly right away.
Once the tank is filled and the equipment is running, it’s important to make the water safe for your shrimp and snails. I used Tetra SafeStart, a biological additive that establishes beneficial bacteria, making the water environment safe and healthy. For a tank this size, just a couple of milliliters is enough.
Choosing Your Inhabitants: Shrimp and Snails
This 1-gallon nano tank isn’t ideal for fish, but it’s perfect for small aquatic creatures like Amano shrimp or Neocaridina shrimp and a few snails. These critters are low maintenance and thrive in small, well-filtered environments.
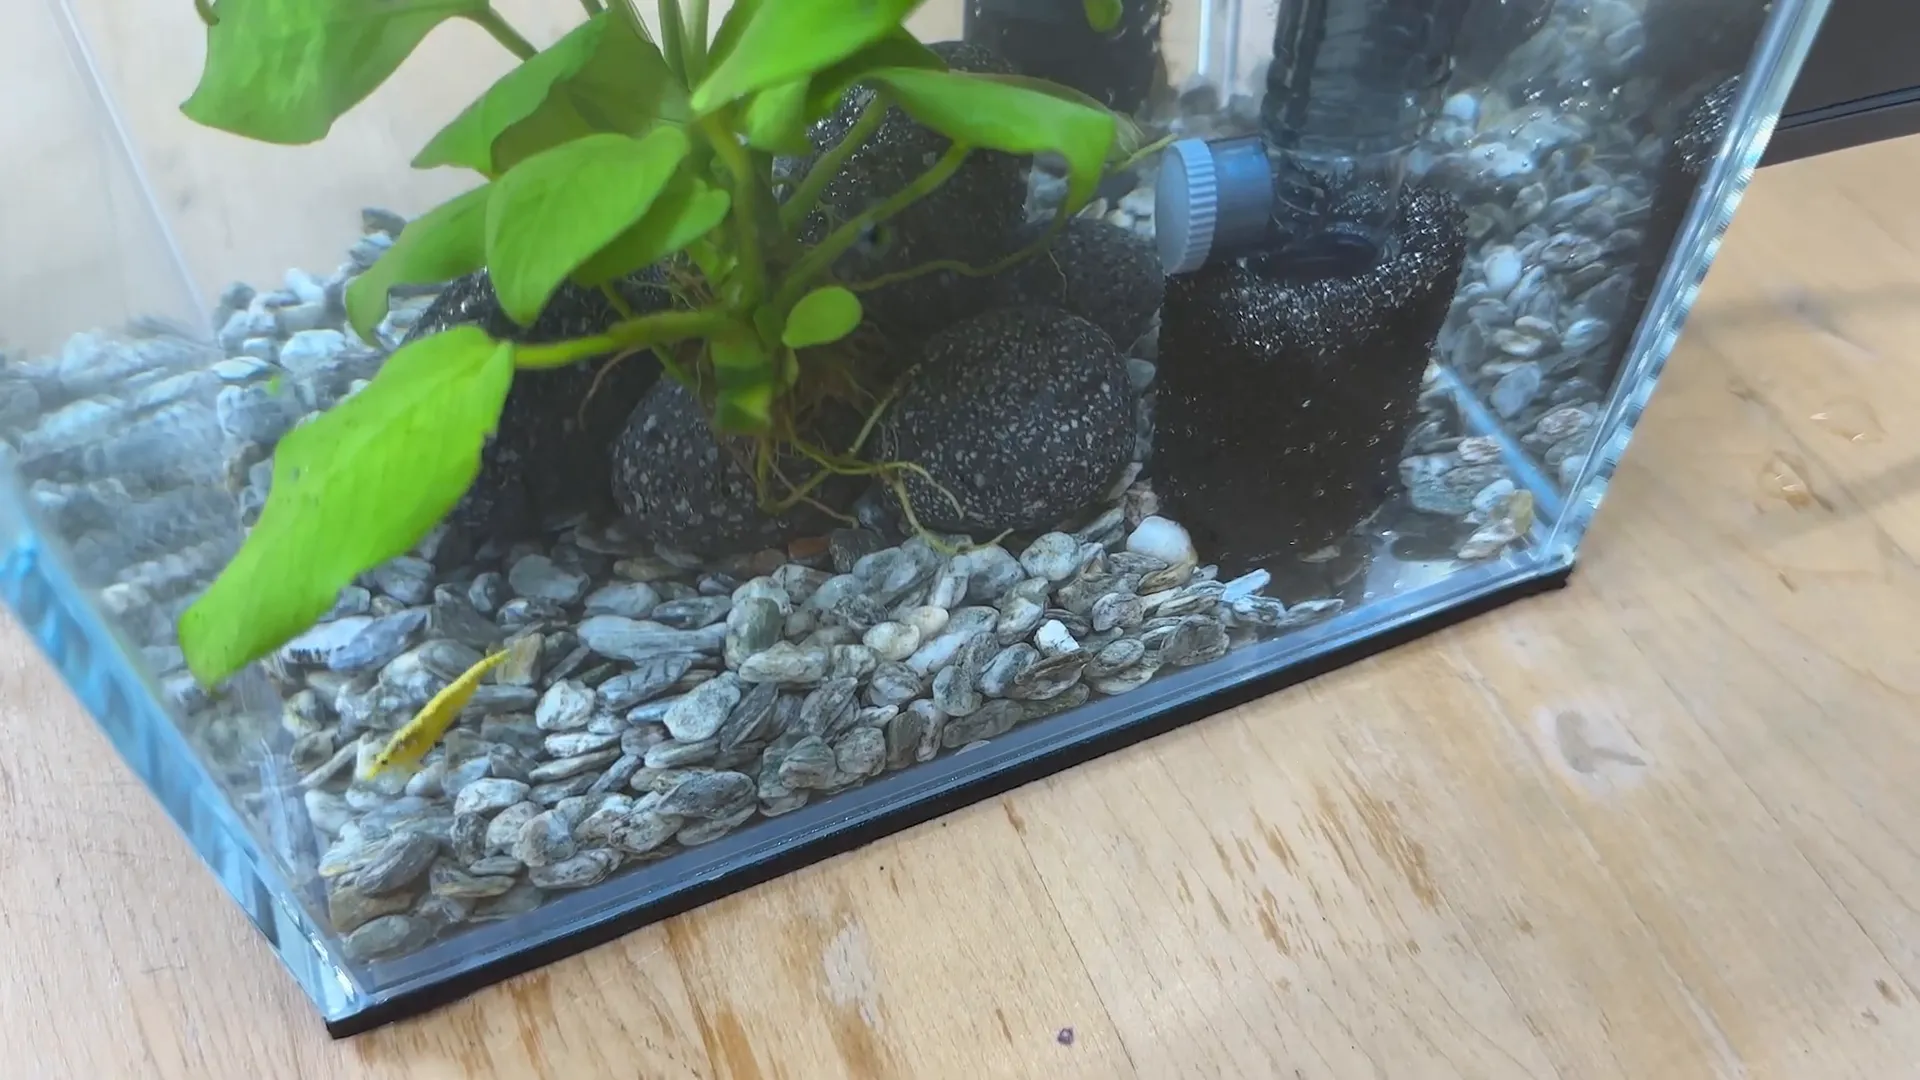
With the setup complete and water conditioned, you can safely introduce your shrimp and snails. They’ll appreciate the cozy hiding spots created by the rocks and plants.
Why Choose a Beginner Nano Tank?
The Lifegard 1 Gallon Nano Cube Aquarium Kit is a fantastic entry point for beginners. It’s compact, fully equipped, and easy to set up in just a few minutes. Whether you want a desktop conversation piece, a low-maintenance pet, or a stepping stone into larger aquarium keeping, this tank has you covered.
Plus, the modular filter design means you can upgrade to bigger tanks without needing to replace the filter system, making it a cost-effective choice for growing hobbyists.
Frequently Asked Questions (FAQ)
Is a 1 gallon tank suitable for fish?
Generally, no. A 1 gallon tank is too small to house fish comfortably. It’s better suited for small invertebrates like shrimp and snails.
What kind of plants can I keep in a beginner nano tank?
Low-light plants such as Anubias, Java Fern, and mosses are ideal because they don’t require soil and thrive under small LED lights.
How often should I clean and maintain this nano tank?
Regular water changes of about 10-20% weekly and filter maintenance every few weeks will keep your nano tank healthy.
Can I upgrade this tank to a larger size?
Yes! The filter system included is compatible with 2 and 3-gallon versions, so upgrading is straightforward.
How do I make sure the water is safe for shrimp?
Use a water conditioner like Tetra SafeStart to establish beneficial bacteria and remove harmful chemicals such as chlorine.
For anyone looking to start their nano aquarium journey, this beginner nano tank setup is a fun, manageable, and rewarding project. If you want to check out this kit for yourself, follow the link in the description below.
This article was inspired from the video 1 Gallon Nano Build (Perfect for Beginners!) | Drop a like and subscribe to show your support!