Welcome to a comprehensive guide on setting up your very first planted aquarium. Whether you're a complete beginner or looking to refine your aquascaping skills, this tutorial walks you through every essential step—from substrate preparation to plant selection and layout design. The aim is to help you create a sustainable, beautiful aquatic ecosystem that you can enjoy and nurture for years to come. This guide is inspired by expert advice and practical tips that make the process manageable and rewarding.
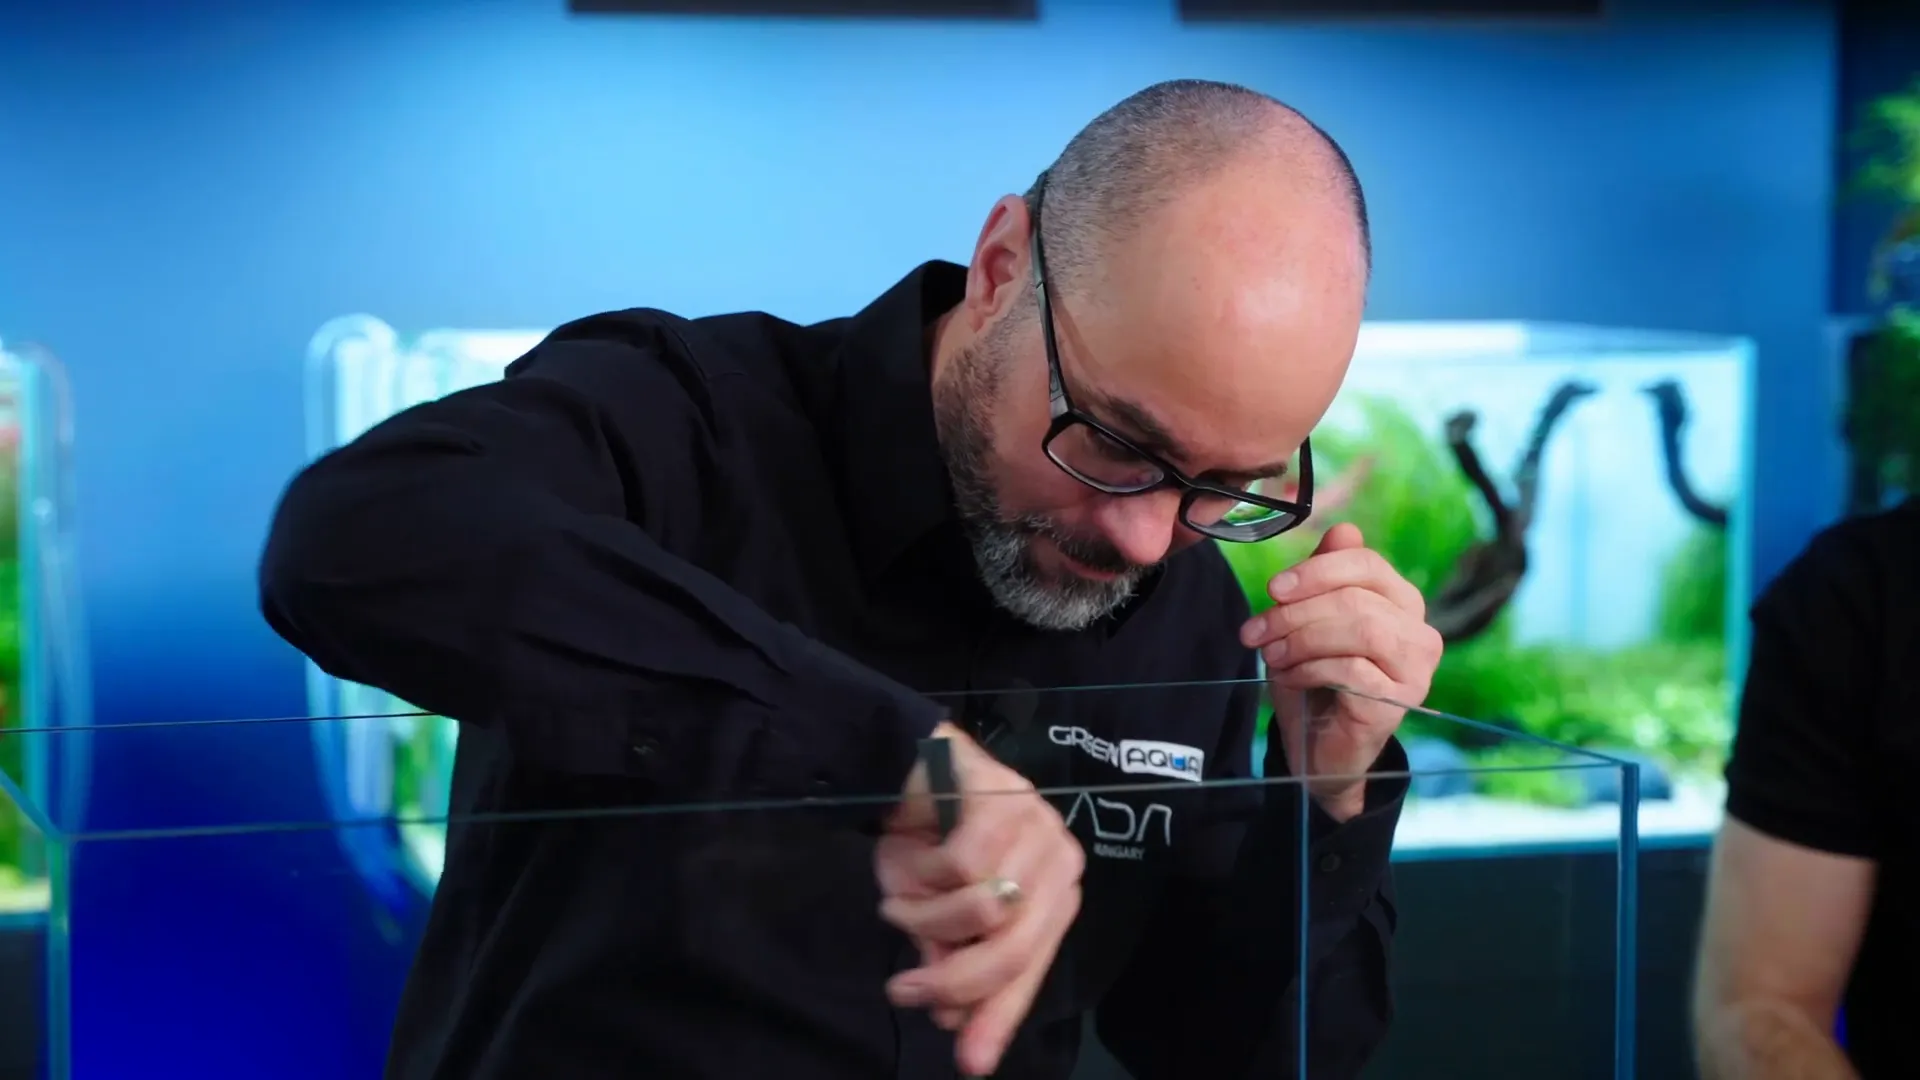
Table of Contents
- Why Choose a 64-Litre Aquarium for Your First Planted Tank?
- Step One: Preparing the Substrate
- Step Two: Designing the Hardscape
- Step Three: Planting Your Aquarium
- Step Four: Patience and Final Touches
- Frequently Asked Questions About Starting a Planted Aquarium
- Conclusion
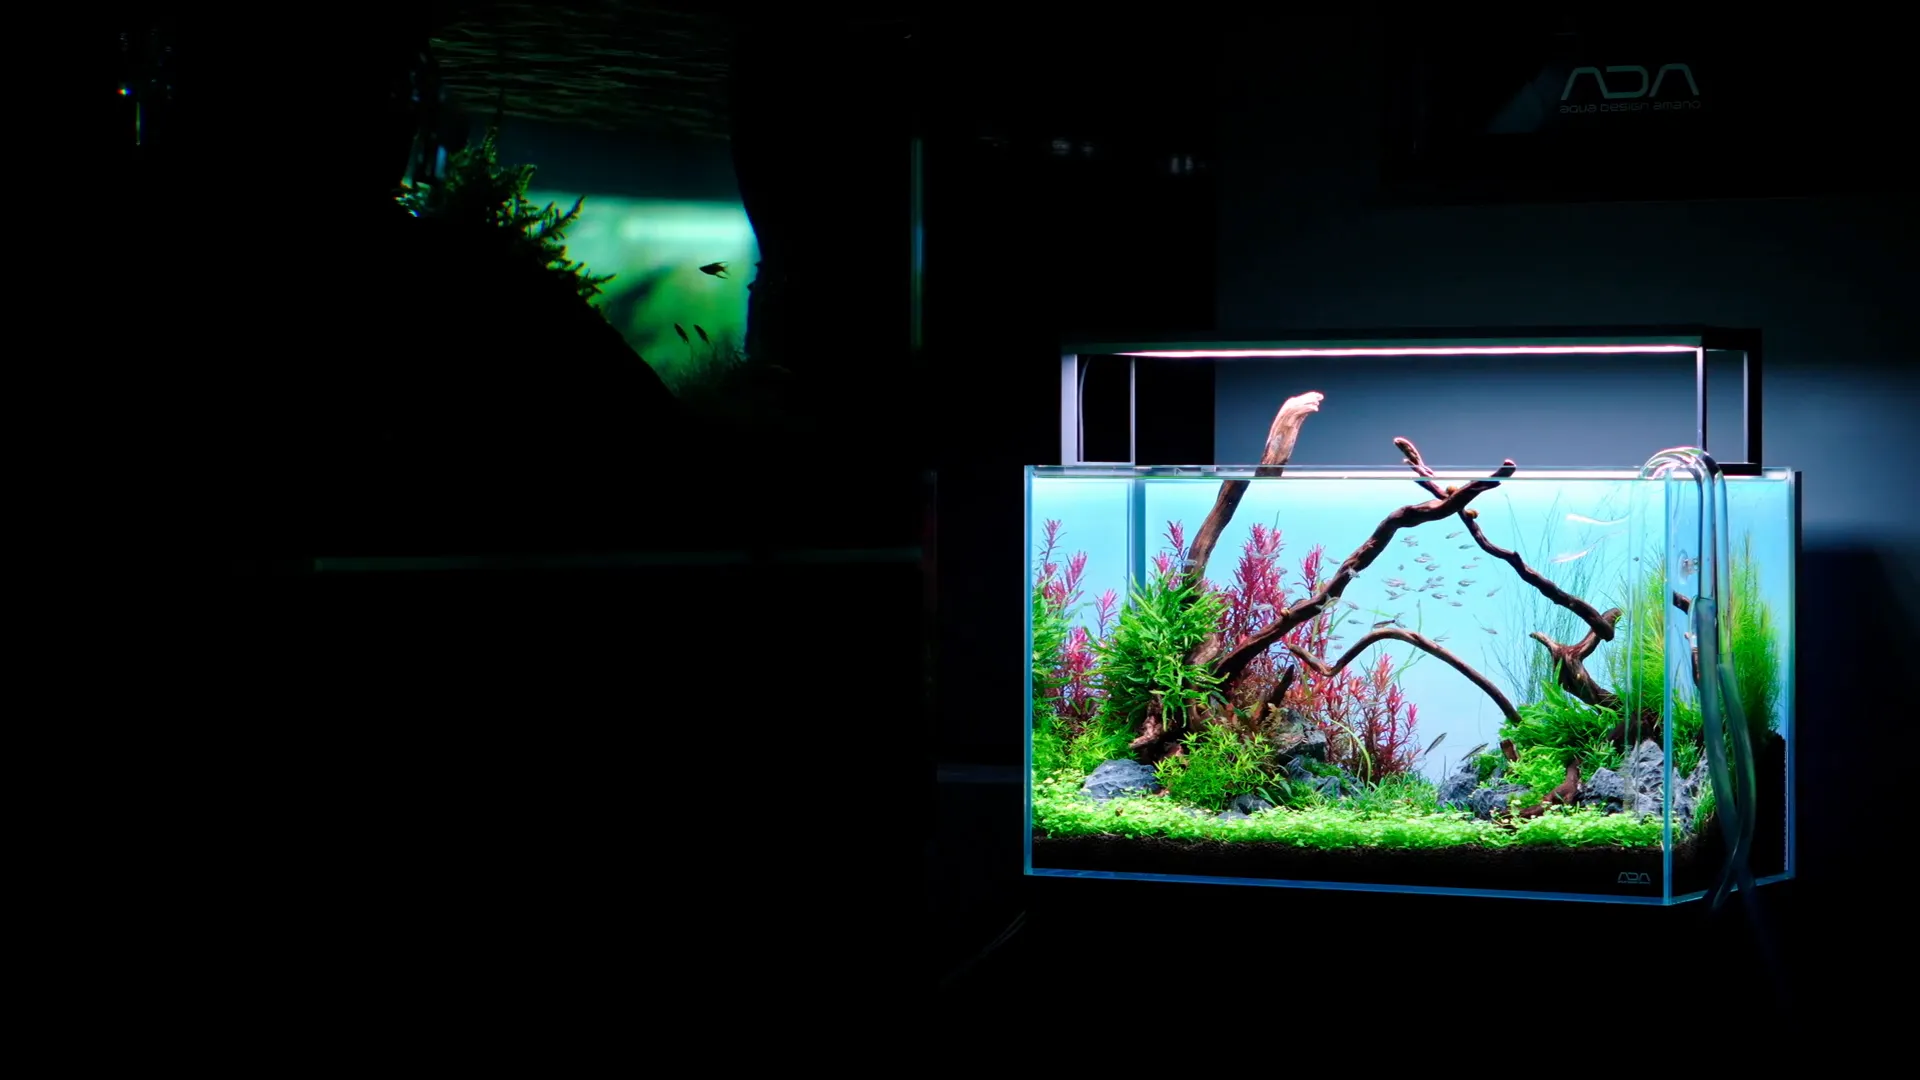
Why Choose a 64-Litre Aquarium for Your First Planted Tank?
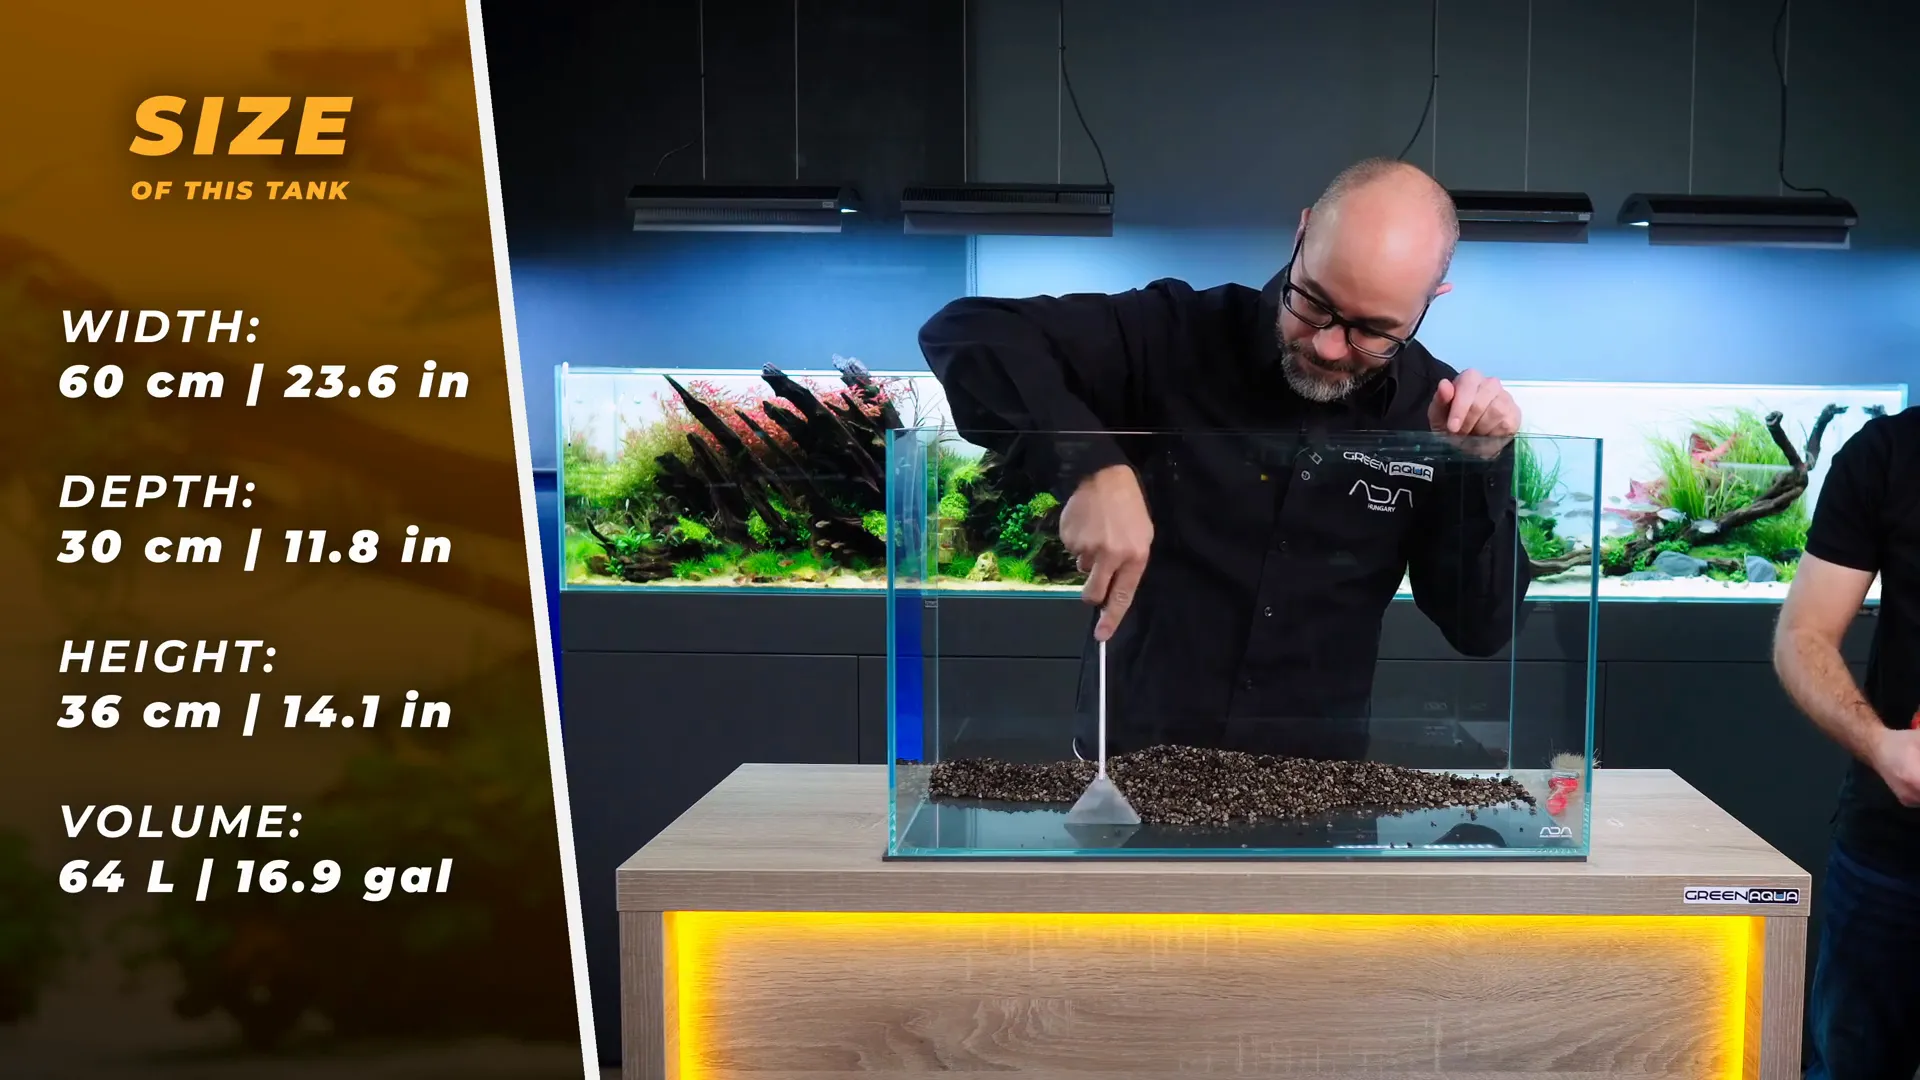
The size of your aquarium plays a crucial role in your success as an aquascaper. A 64-litre planted aquarium strikes the perfect balance—it’s neither too large to be overwhelming nor too small to limit your design possibilities. This medium-sized tank allows you to create a stable and sustainable ecosystem with adequate space for plants and aquatic life to thrive.
With this volume, you can experiment with various aquatic plants and hardscape elements without the stress that comes with maintaining larger tanks. It’s ideal for beginners who want to develop their aquascaping skills while ensuring manageable maintenance.
Step One: Preparing the Substrate
The foundation of any successful planted aquarium is the substrate. It provides the essential nutrients that aquatic plants need to grow healthy roots and flourish. Starting with a nutrient-rich base is critical for long-term success.
Choosing the Right Nutrient Base
Begin by pouring a layer of nutrient-rich substrate into the aquarium. One of the best options available is ADA Power Sand. This substrate contains vital nutrients and beneficial additives like tourmaline and activated carbon. These components promote the development of healthy bacterial colonies in the soil, which supports nutrient cycling and maintains substrate health over time.
When adding the nutrient base, be sure to leave a small gap along the glass where you do not pour any substrate. This gap prevents nutrients from leaching into the water column, which could cause algae outbreaks and cloudiness. Moreover, it keeps the front view of your aquarium clean and visually appealing.
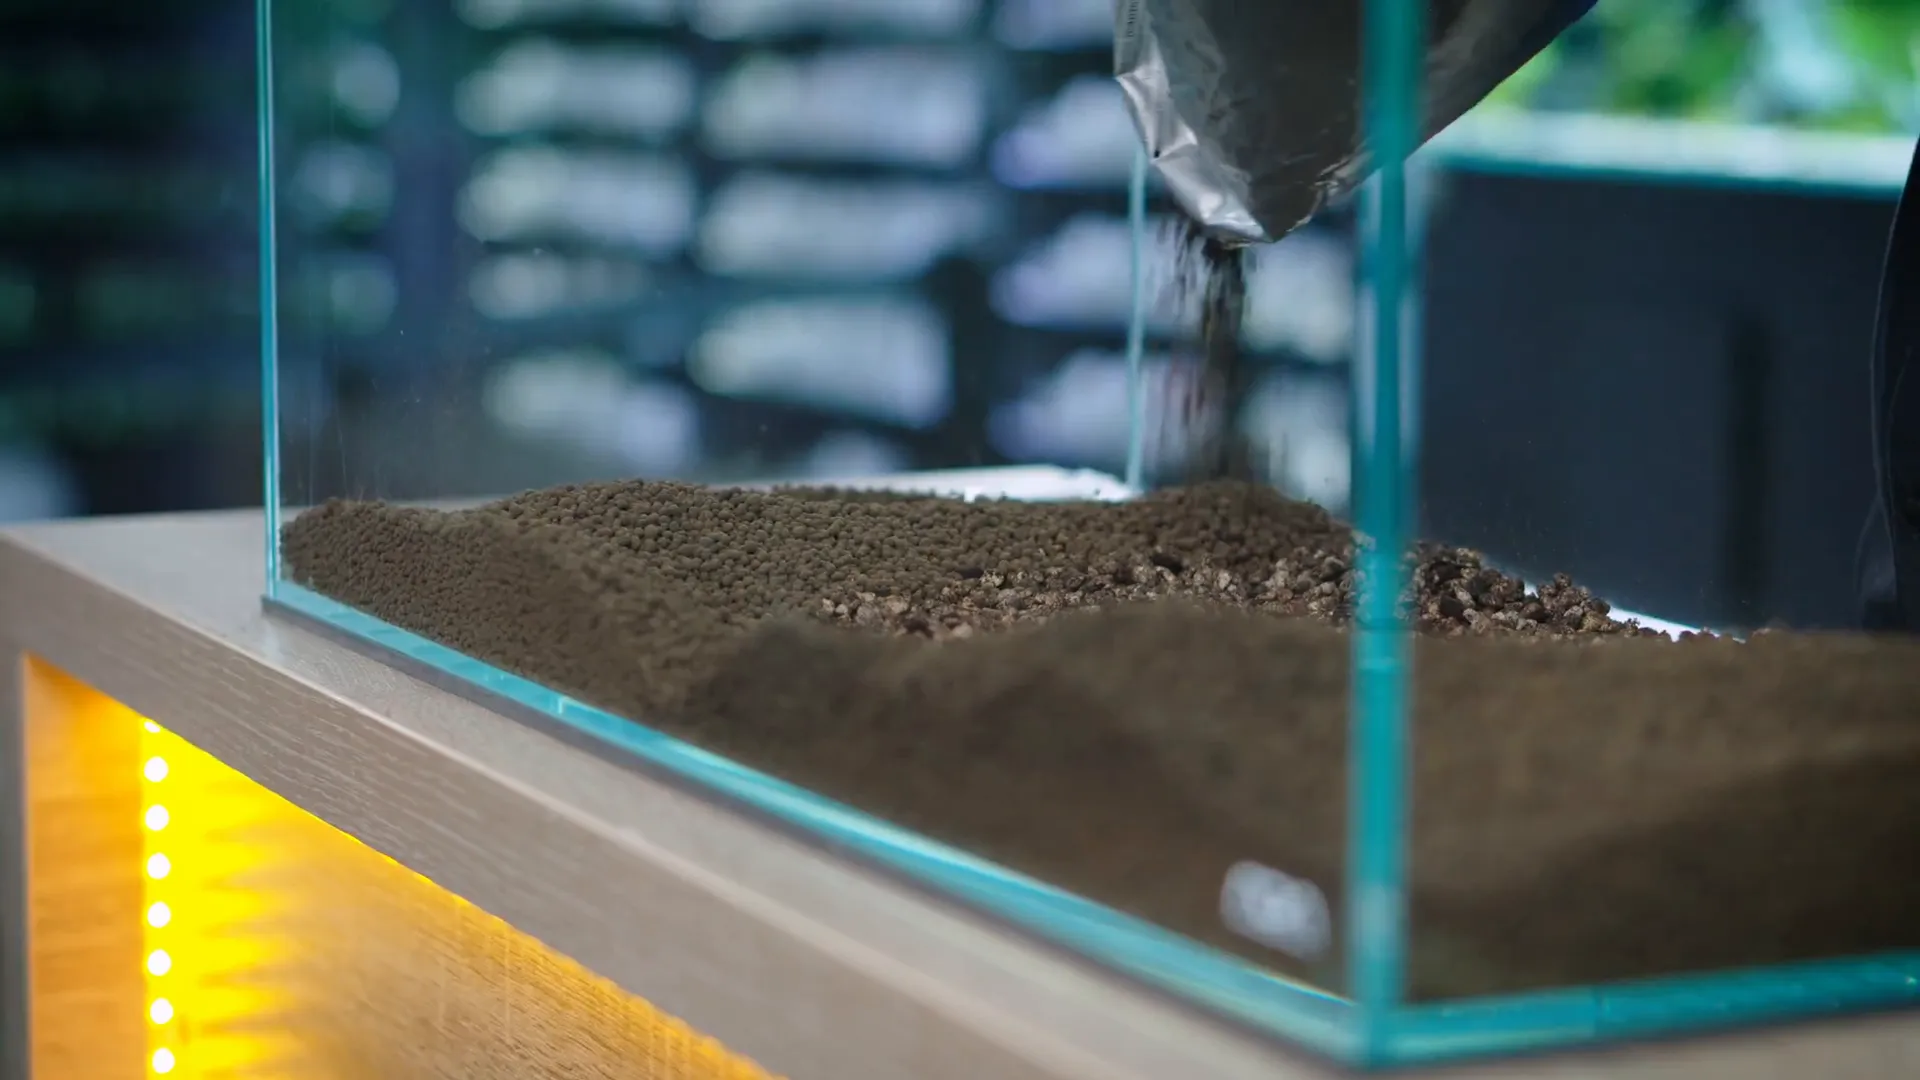
Adding the Main Soil Layer
After the nutrient base is in place, add a layer of ADA Aquasoil Amazonia. This clay-based soil is widely regarded as one of the best general-purpose plant substrates. It provides a natural look while offering excellent nutrient retention and water conditioning properties.
Pour the soil starting from the front of the aquarium to prevent pushing the nutrient base forward. Shape the soil layer so that it slopes upwards towards the back of the tank, creating depth and perspective for your aquascape. This sloping effect enhances the visual appeal and provides better planting zones for different species.
If you don’t have a specialized leveling tool, you can use a simple old bank card or, for a more authentic approach, a triangular ruler like the one favored by famed aquascaper Takashi Amano.
Step Two: Designing the Hardscape
Once the substrate is ready, it's time to start working on the hardscape—the rocks and wood that form the structure of your aquascape. This step is crucial as it sets the visual foundation and defines the overall style of your planted aquarium.

Natural Placement of Rocks and Wood
Avoid placing rocks in a straight line to prevent your aquascape from looking artificial, like a stone fence. Instead, arrange them at angles relative to each other, mimicking natural erosion and geological formations. Every rock has a "face" or side that looks more attractive—rotate and position each stone to showcase its best angle.
After placing each element, always step back and evaluate the overall composition. This process helps you maintain a balanced and harmonious layout.
Creating a V-Shaped Layout
For this aquascape, we chose a V-shaped urbanistic plan featuring wood positioned on both sides, converging towards the center. When designing your layout, consider the viewing angles from your room. For example, if you mostly view your aquarium from the right side, incorporate a triangular layout from that perspective to add a secondary focal point besides the front view. This dual approach ensures the aquarium remains visually engaging from multiple angles.

Securing Floating Wood
Wood tends to float when filling the aquarium with water. To prevent this, attach the wood pieces to rocks using aquarium-safe super glue. However, don’t apply glue directly to the wood and rock—place a small piece of paper between them, preferably at the back where it won’t be visible. Saturate the paper with glue and then sprinkle some substrate over it to camouflage the white paper. This simple trick allows you to bond wood and rock securely while maintaining a natural look.
Step Three: Planting Your Aquarium
Planting is the most exciting phase of setting up a planted aquarium. Proper preparation and thoughtful selection of aquatic plants can make a huge difference in how your aquascape develops.

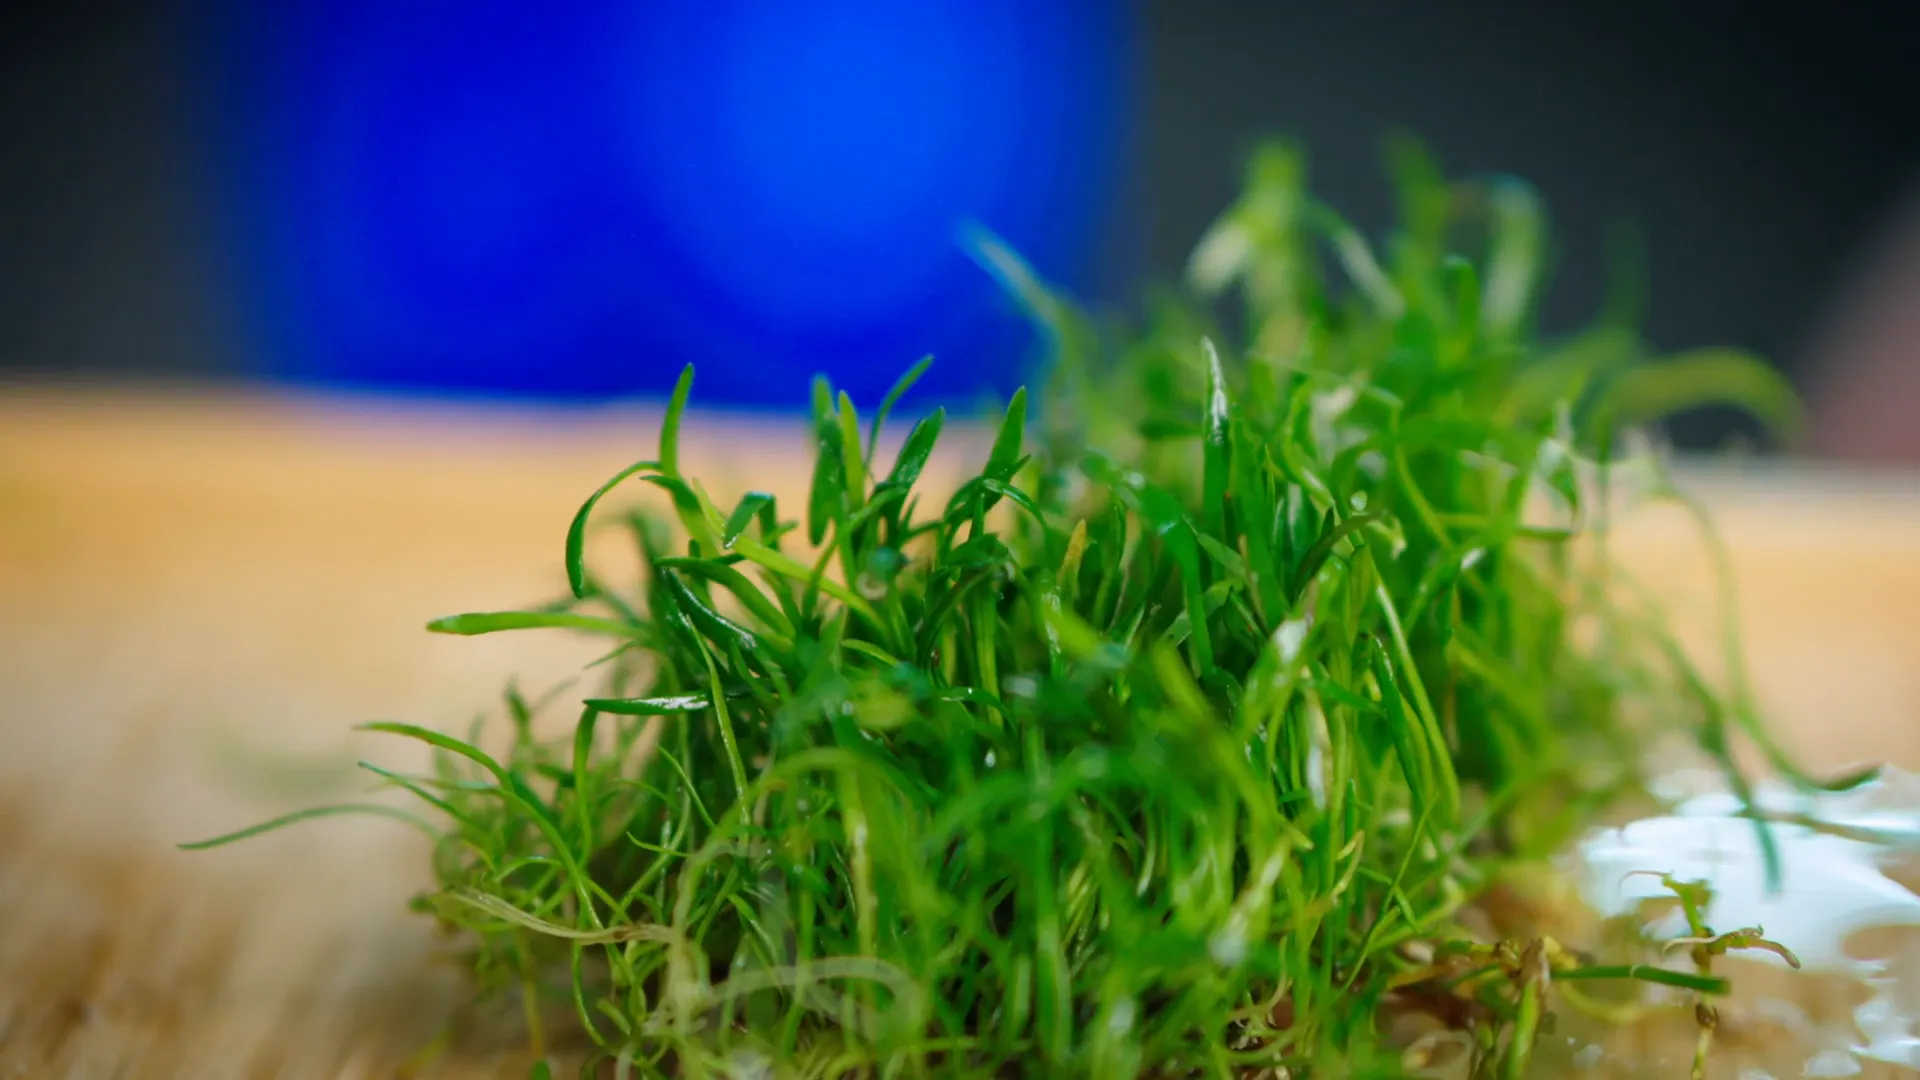
Preparing Plants for Planting
For foreground plants like Hydrocotyle tripartita 'mini', divide them into many small bunches. Planting densely will help you achieve a continuous carpet effect faster than planting individual pieces spaced apart. Use fine-tipped tweezers to make planting easier and more precise.
Choosing Easy-to-Create Arrangements
Start with simple designs that mimic natural environments such as a riverbed or forest floor. You can find inspiration by browsing aquascape photos online or even photographing your favourite forest scenes in nature.
Understanding Aquascaping Styles
There are several popular aquascaping styles to consider:
- Iwagumi: Uses only stones for a minimalist look. Though visually simple, it’s challenging to create a natural appearance.
- Ryuboku: Focuses on wood as the primary hardscape element.
- Mizube: Combines wood and stones for a balanced layout.
For beginners eager for success, Ryuboku and Mizube styles are recommended over Iwagumi.
Planting Midground and Background Plants
After establishing the foreground, move on to midground plants. You can plant these deeper in the substrate without worrying about burying them too much. However, insufficient planting depth can cause plants to float upwards, making replanting difficult once the tank is filled with water. So, plant confidently and deeply.
Plants like Lilaeopsis brasiliensis should be planted densely, as they grow slowly and form lush carpets over time. Progressively add larger plants as you move from front to back, layering your aquascape to create depth.
Playing with Colours and Textures
Experiment with different shades of green and leaf sizes to add contrast and visual interest. Placing a darker green plant next to a lighter one can create a striking effect. Mosses with deep green hues, such as Christmas moss (Vesicularia dubyana), enhance any aquascape and can be attached to rocks or wood.
Selecting Suitable Background Plants
When choosing background plants, consider leaf size and growth habits. Large-leaf species like Echinodorus can overwhelm smaller tanks but work well in larger setups. In smaller aquariums, opt for plants with long, narrow leaves to maintain balance.
Plant background species deeply to prevent floating. Planting multiple stems at once is advisable, although some aquascapers prefer individual stem planting for precision.
Using Epiphytic Plants
Epiphytes like Anubias species and some ferns should never be planted in substrate as they will rot. Instead, attach them to wood or stones to mimic their natural growth on trees and rocks. Their roots mainly serve as anchors rather than nutrient absorbers, similar to orchids on trees.
Avoiding Over-Symmetry
In dual-sided aquascapes, avoid excessive symmetry. Adding a unique or brightly coloured plant on one side effectively breaks the monotony and adds dynamic interest.
Consider Filter Placement
When planting the background, leave space for internal filters or external filter inlets and outlets. These affect water flow, which in turn influences plant growth direction—plants tend to lean with the current.

Step Four: Patience and Final Touches
After planting, the most important step is patience. Aquascaping is a dynamic art where nature gradually takes over the space you create.
Use a Variety of Plants
Diversity in plant species helps establish biological balance faster, making the ecosystem more stable. A mix of fast-growing and slow-growing plants can also help outcompete algae and maintain water quality.
Waiting for Growth and Maturation
Give your plants time to root and mature. Within a few weeks, you will notice them filling the intended spaces, transforming your aquarium into a lush underwater landscape.
Enjoy the Transformation
Watching your planted aquarium evolve is one of the most rewarding experiences. It’s like witnessing the natural world reclaim a space you’ve carefully curated. Observe, learn, and adjust as needed to keep your aquascape thriving.
Frequently Asked Questions About Starting a Planted Aquarium
What size aquarium is best for beginners?
A 64-litre aquarium is ideal for beginners. It provides enough space to create a balanced ecosystem without being overwhelming to maintain.
Why is substrate preparation important?
Substrate provides essential nutrients and a stable foundation for plant roots. Using nutrient-rich substrates like ADA Power Sand and Aquasoil Amazonia ensures healthy plant growth and long-term sustainability.
How do I prevent wood from floating when filling the aquarium?
Attach the wood to rocks using aquarium-safe super glue with a piece of paper in between to secure the bond. This prevents the wood from floating and keeps your hardscape stable.
What plants are recommended for the foreground?
Hydrocotyle tripartita 'mini' and Lilaeopsis brasiliensis are excellent foreground plants for carpeting. Plant them densely to achieve a lush, continuous carpet effect.
How can I avoid a symmetrical look in my aquascape?
Introduce unique or brightly coloured plants on one side and vary plant heights and textures to break symmetry and add visual interest.
How long should I wait to see results in my planted aquarium?
Within a few weeks, plants will begin to root and fill the space. Patience is key as your aquascape develops and matures naturally.
Conclusion
Setting up your first planted aquarium is an exciting journey that combines art, science, and nature. By carefully preparing your substrate, designing a natural hardscape, selecting and planting diverse aquatic plants, and exercising patience, you can create a stunning underwater landscape that thrives and evolves.
Remember, the key to success lies in understanding the needs of your plants and the balance of your ecosystem. Take your time with each step, enjoy the process, and watch as your aquarium transforms into a vibrant aquatic haven.
Welcome to the wonderful community of aquascapers – may your planted aquarium bring you joy and inspiration!
This article was inspired from the video A Perfect Tutorial to Start Your FIRST Planted Aquarium | Drop a like and subscribe to show your support!