Do you ever worry about your fish making a daring escape from your aquarium? You’re not alone—I definitely do, especially after adding a lively betta to our community tank. To keep our aquatic friends safe and sound, I decided to build a custom aquarium screen cover using the Red Sea DIY Aquarium Net Cover Kit. In this guide, I’ll walk you through the process step-by-step, sharing tips and tricks I learned along the way to make your build as smooth as possible.
Table of Contents
- Why You Need an Aquarium Screen
- Unboxing and Understanding the Kit Components
- Tools You’ll Need
- Measuring and Planning Your Cuts
- Cutting the Frame Pieces
- Assembling the Frame and Installing the Screen
- Final Adjustments and Installation
- Conclusion
- Frequently Asked Questions (FAQs)
Why You Need an Aquarium Screen
Fish jumping out of tanks is a common concern among aquarists, particularly with species like bettas that are known jumpers. An aquarium screen is the perfect solution to prevent accidental escapes, protect your fish from external threats, and even reduce evaporation. The Red Sea DIY Aquarium Screen Kit is a customizable option that fits rimless tanks like the UNS 90B, and it offers a durable, secure cover that you can build yourself.
Unboxing and Understanding the Kit Components
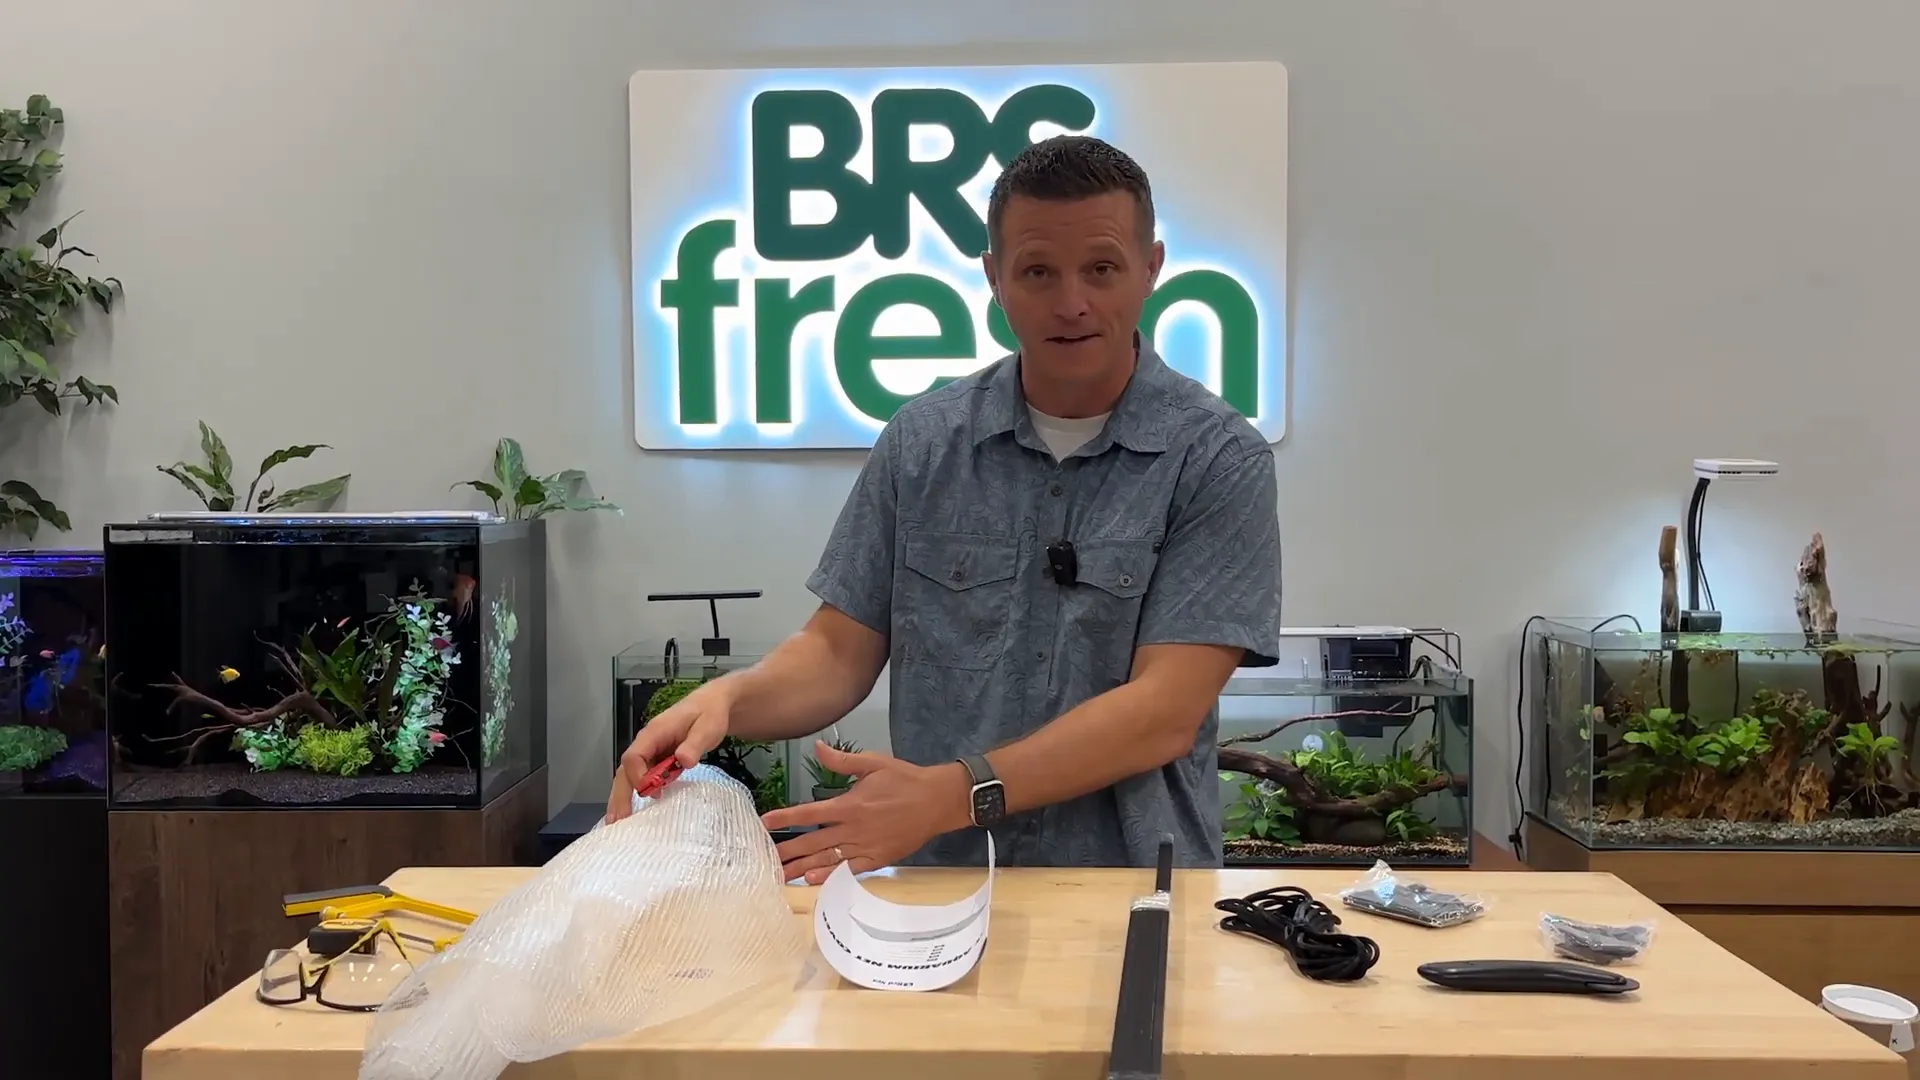
The kit includes all the essentials you need to create a frame and clamp down a window screen-like netting over your tank. Here’s what you get:
- Window screen border strips that form the frame
- Clamping strips to secure the screen inside the frame
- Corner pieces for neat, sturdy edges
- Additional small pieces to work around tank accessories like filters
- The screen netting itself—plenty of it to cover your tank’s surface
One quick tip: avoid using sharp blades or knives to cut through the shrink-wrap packaging while it’s still attached to the net. I learned this the hard way and ended up with some mysterious holes in my screen. Instead, carefully unwrap everything before starting your build.
Tools You’ll Need
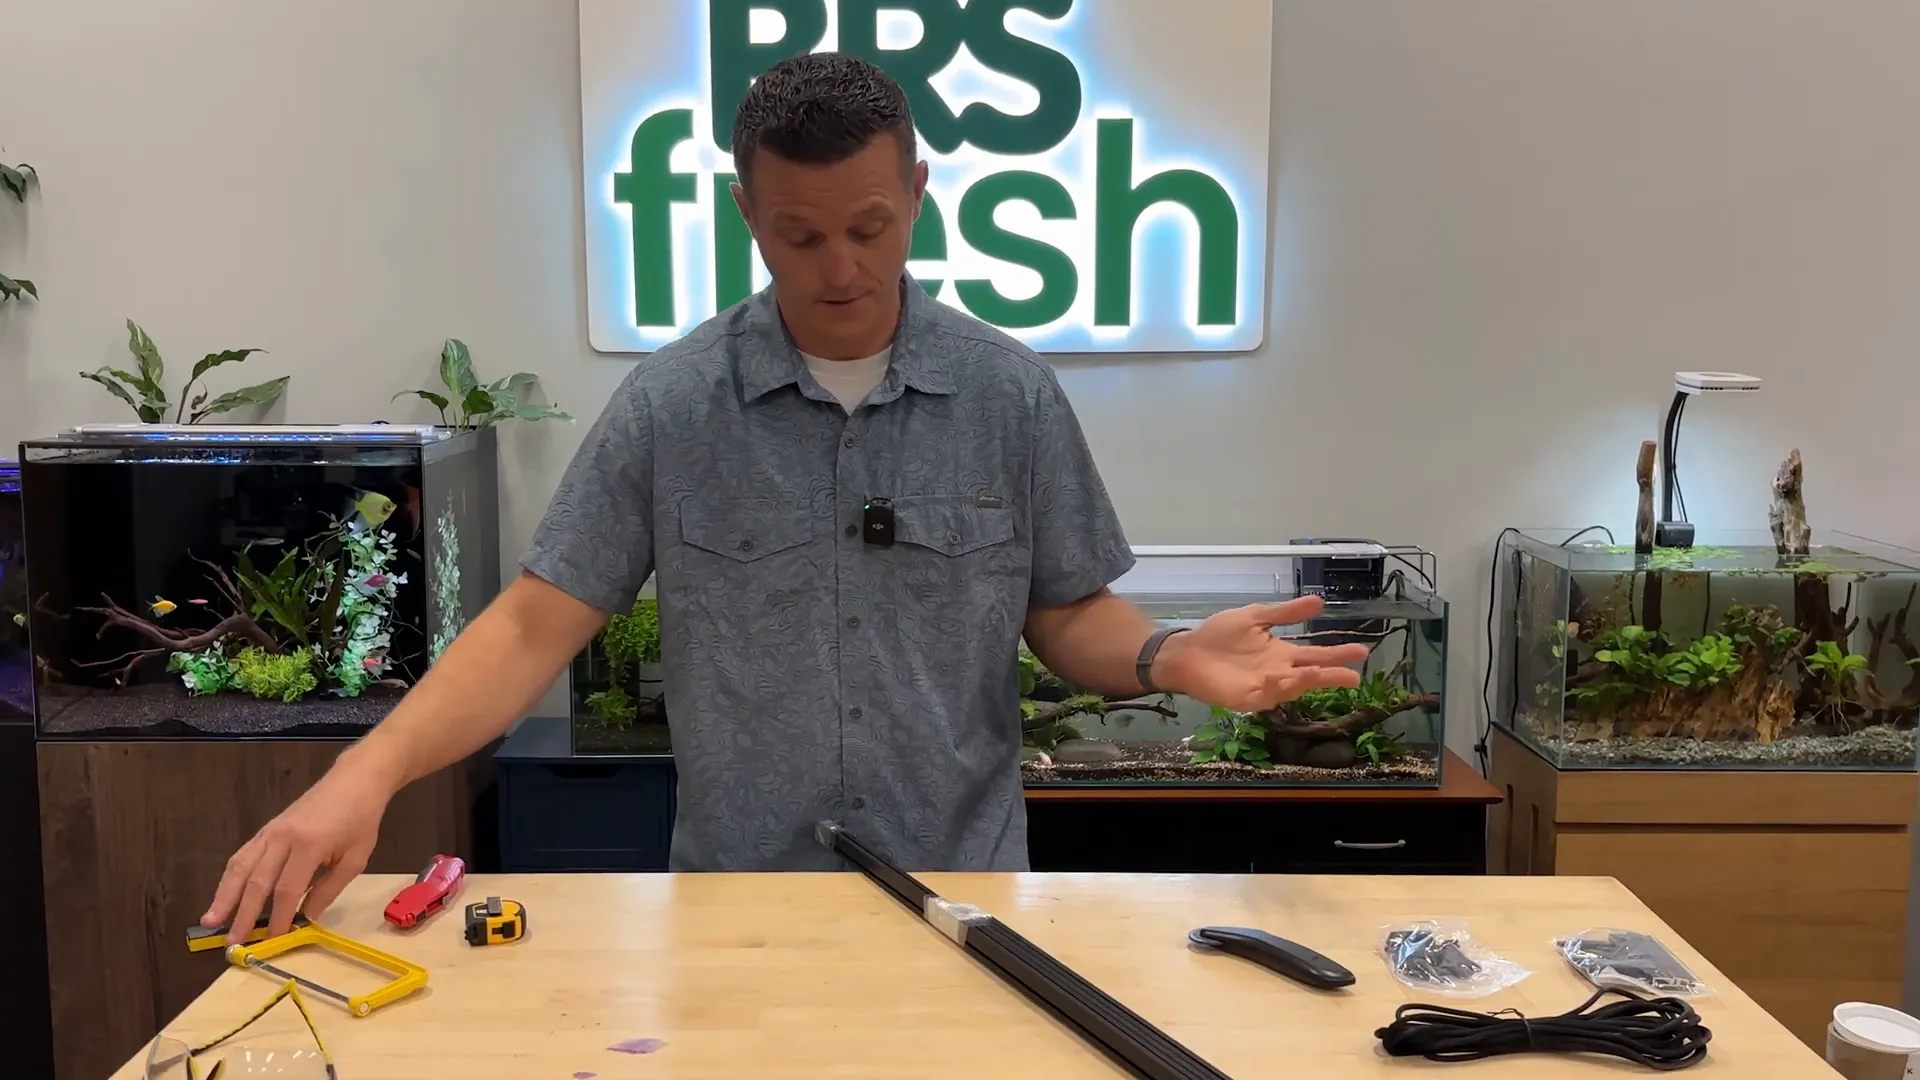
Before you start cutting and assembling, make sure you have these basic tools ready:
- Hacksaw or miter saw for cutting the aluminum frame pieces
- Safety glasses to protect your eyes from metal shards
- Tape measure for precise measurements
- Utility knife or scissors for trimming the screen
- Painters tape to help make cleaner cuts on aluminum
Measuring and Planning Your Cuts
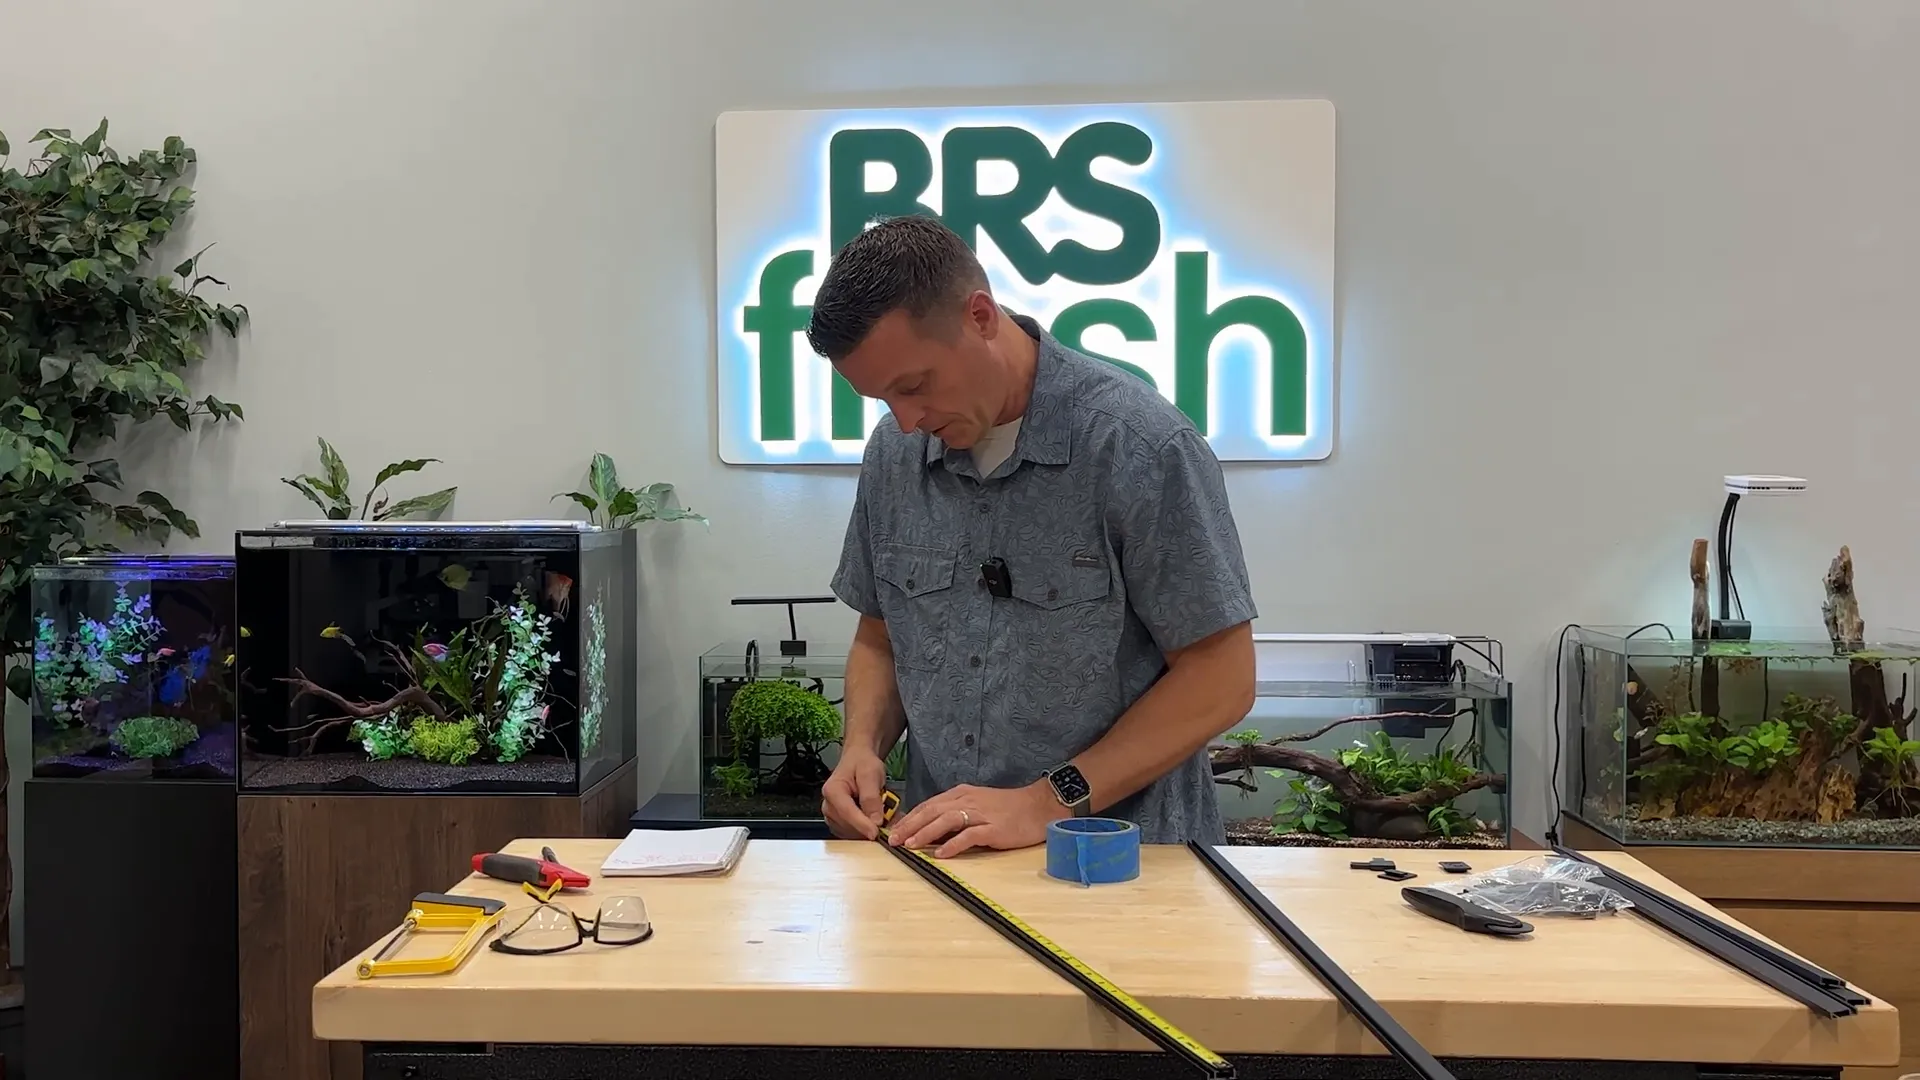
My tank is a UNS 90B, which has a length of 36 inches. The 36-inch kit is perfect, but the actual frame pieces need to be slightly shorter than the inside tank dimensions because the frame sits inside the tank and has tabs that prevent it from falling in. So, you don’t need exact 36-inch cuts—close is good.
The key challenge is accounting for the size of the corner pieces and tabs when measuring. If you cut the frame pieces too long, they won’t fit properly because the corner brackets and tabs take up space.
Here’s how I approached it:
- Measured the inside length minus the corner brackets and tabs
- Planned a custom cut to accommodate the filter on one side of the tank
- Calculated adjustments for the partial sides where the screen will wrap around the filter
For example, I made my longest side cut 33¼ inches instead of the full 36 inches, subtracting about 2 inches for the brackets. The shorter sides were adjusted similarly, with one side coming out a few inches to go around the filter. This flexibility allows the screen to fit snugly without interfering with your tank setup.

Cutting the Frame Pieces
Once you have your measurements, it’s time to cut the aluminum frame pieces. I used a simple $8 hacksaw from Amazon, but a miter saw will make the job faster and cleaner if you have one available.
Before cutting, I applied painter’s tape along the cut lines. This helps the hacksaw blade make a cleaner cut and reduces splintering of the aluminum edges. Don’t forget to wear your safety glasses during this step!
Take your time and make precise cuts. While you don’t need to be perfect down to the sixteenth of an inch, getting close will make assembly easier and the final screen look more professional.
Assembling the Frame and Installing the Screen
With the pieces cut, it’s time to assemble the frame. Start by attaching the corner brackets to the frame pieces. These brackets hold everything together and have tabs that prevent the frame from falling into the tank.
Next, lay your screen netting over the frame. To make installation easier, I taped the screen loosely to a table larger than the frame. This allowed me to position the screen without it being overly stretched or tangled.
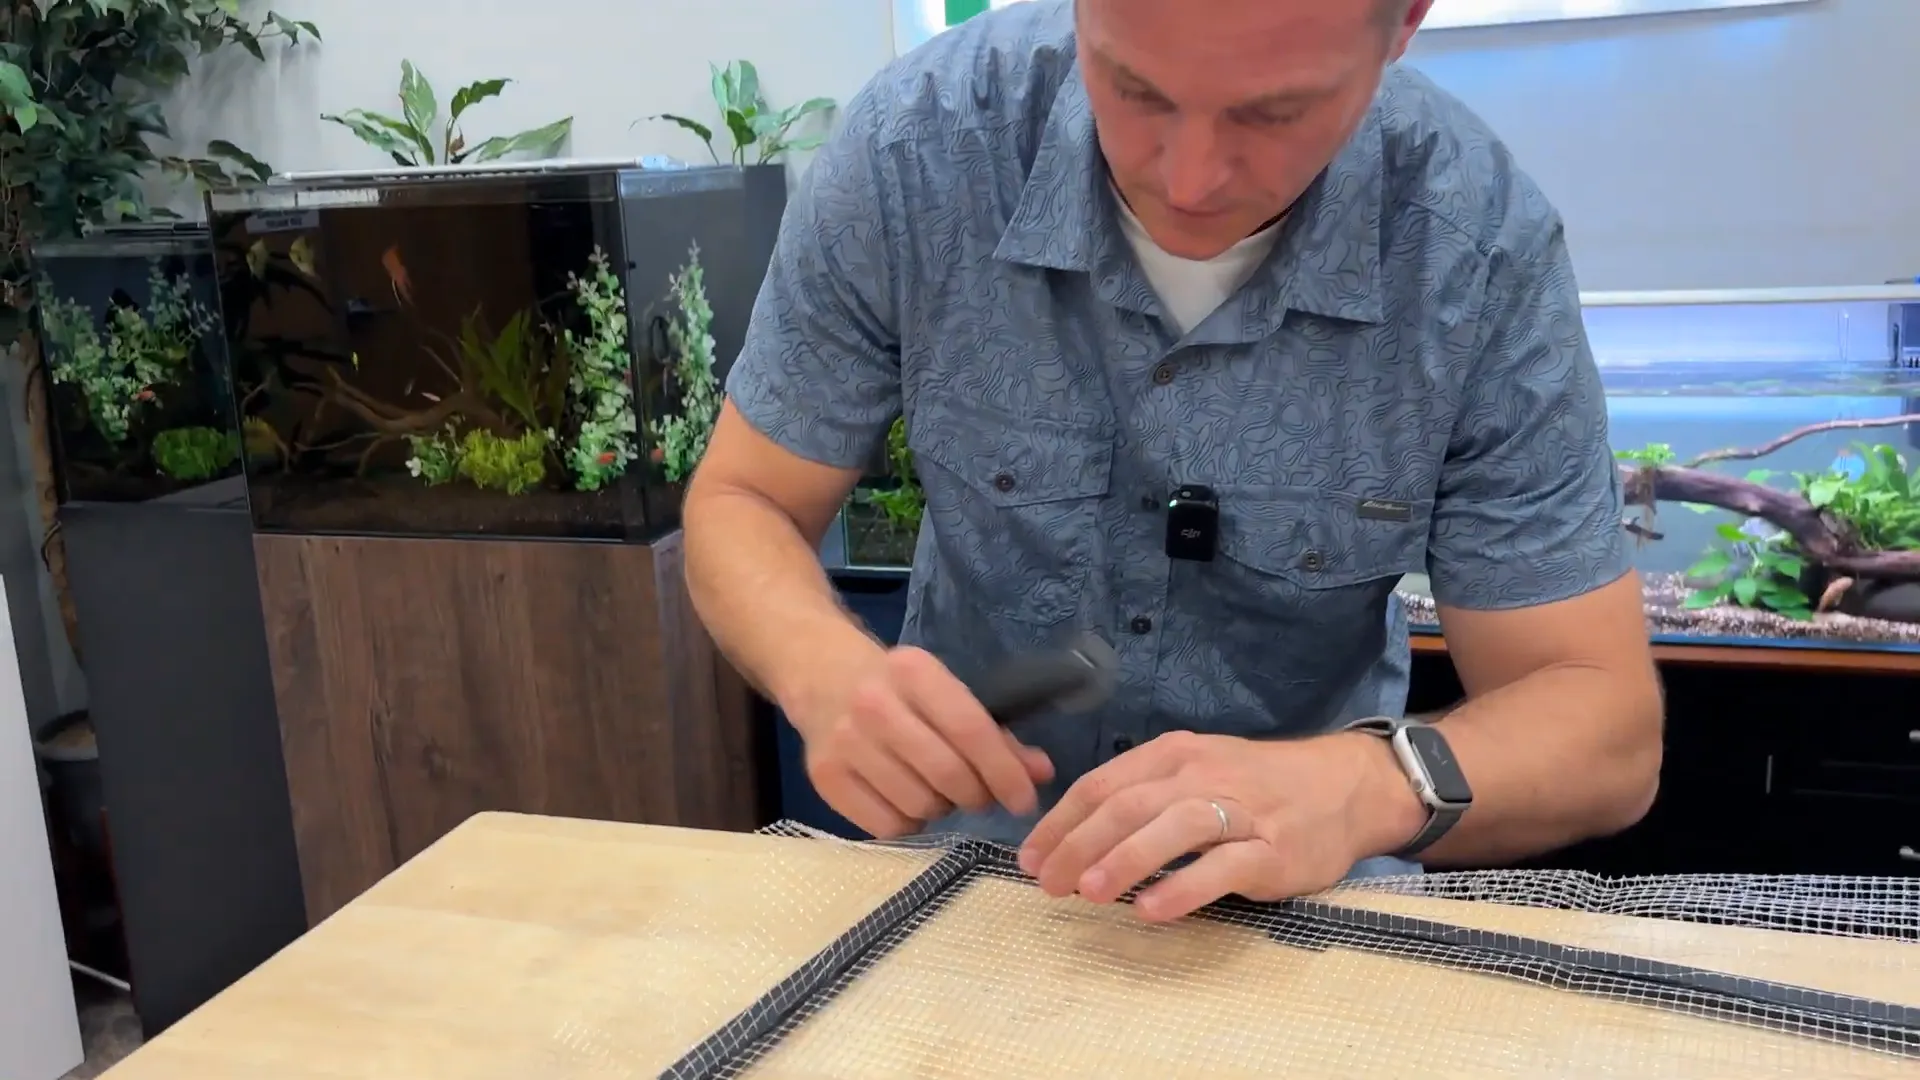
The trick to securing the screen is using the clamping strips and a special tool included in the kit. Here’s what I learned:
- Pull the screen taut along one side while working it into the groove
- Use the roller tool to press the clamping strip into the frame channel, rolling it along the edge
- Be gentle to avoid snapping or tearing the plastic screen; a crunchy sound means you’re pushing too hard
- If the screen is too loose or stretched, pull it to make it smaller and then roll the clamp in
Once the screen is locked in place, you can trim any excess netting with scissors or a utility knife for a clean finish.
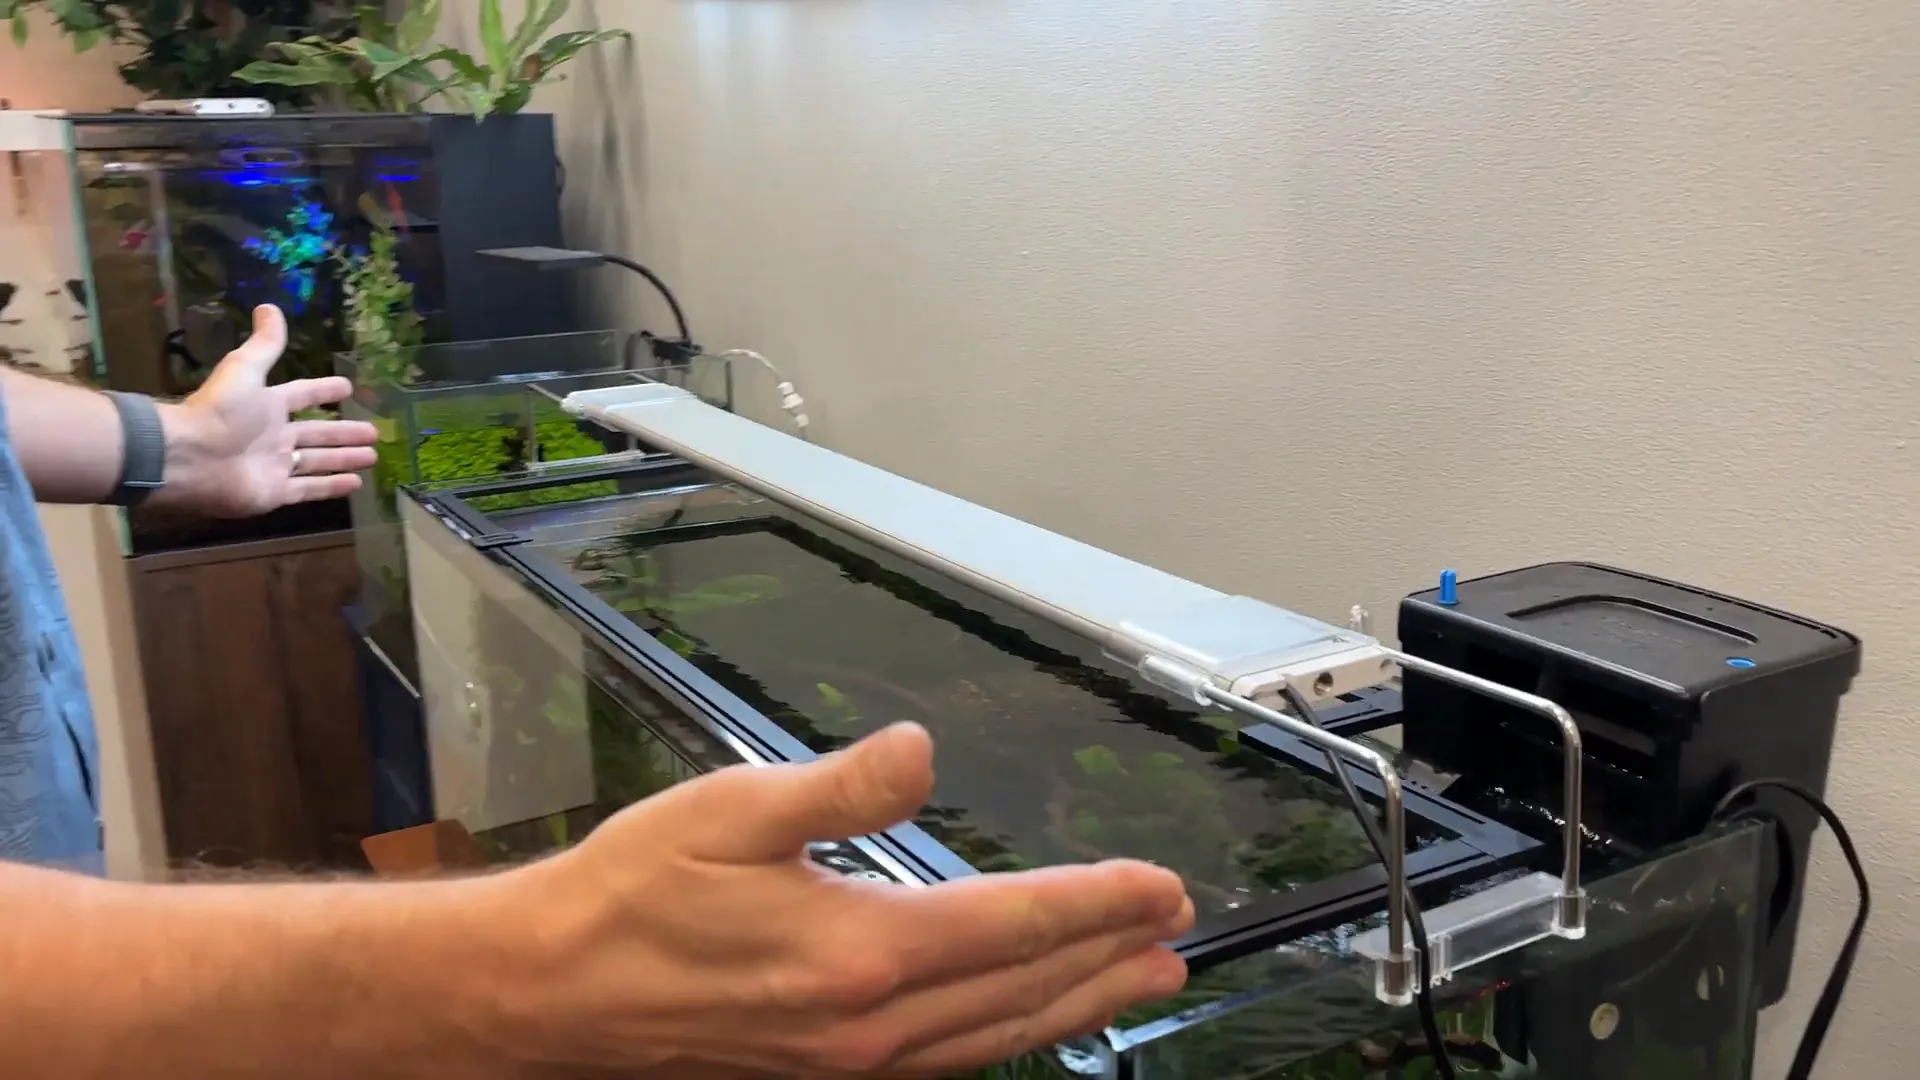
Final Adjustments and Installation
After assembling the screen cover, I made some final adjustments to fit it around the tank’s filter. The filter can be moved slightly to accommodate the screen’s cutout, so don’t worry if your measurements aren’t perfect on the first try.
The finished cover fits nicely inside the tank rim, held securely by the corner tabs, and can be easily removed for maintenance without disturbing the aquarium light or other equipment.
Conclusion
Building a custom aquarium screen is a practical project that provides peace of mind by keeping your fish safe from jumping out. The Red Sea DIY Aquarium Net Cover Kit makes the process straightforward and customizable for rimless tanks like the UNS 90B.
Remember to measure carefully, take your time cutting the frame pieces, and be gentle when installing the screen to avoid damage. With some patience and the right tools, you can create a secure, professional-looking aquarium screen that protects your aquatic community.
Frequently Asked Questions (FAQs)
Do I need special tools to build the aquarium screen?
No, basic tools like a hacksaw, tape measure, utility knife, and safety glasses are sufficient. A miter saw can make cutting easier but is not necessary.
Can this screen be used on any aquarium?
The kit is designed for specific tank sizes like the UNS 90B. However, the screen and frame components are customizable to fit most rimless tanks.
How do I prevent the screen from tearing during installation?
Use the roller tool to gently press the clamping strip into the frame groove while pulling the screen taut. Avoid pushing too hard to prevent snapping the plastic.
Will the screen interfere with my aquarium light or filter?
The screen can be cut and adjusted to fit around filters and equipment. It also sits inside the tank rim, allowing easy removal without disturbing lights.
What if my fish still try to jump out?
A well-fitted aquarium screen significantly reduces the risk of fish jumping out. However, always monitor your tank and ensure the screen is securely installed.
This article was inspired from the video Put A Lid On It - DIY Aquarium Screen Build | Drop a like and subscribe to show your support!