Cleaning a Fluval FX6 canister filter is straightforward once you understand the order of operations: make the equipment safe, drain the canister, isolate it from the aquarium, rinse the media correctly, and reconnect the plumbing for self-priming.
The FX6 is large and holds a substantial volume of water, so the main goal is not to rush. Draining the canister before moving it, keeping towels nearby, and protecting the beneficial bacteria in the biological media will make maintenance far easier and safer for the aquarium.
Table of Contents
- What You Need Before Cleaning a Fluval FX6
- Safety First: Unplug Equipment Before Draining Water
- Step 1: Drain the FX6 Canister Before Moving It
- Step 2: Open the Filter and Remove the Media Stack
- How Water Flows Through a Fluval FX6
- Step 3: Clean FX6 Filter Media Without Damaging Beneficial Bacteria
- Step 4: Rebuild the Basket Stack
- Step 5: Reconnect and Prime the Fluval FX6
- Common Fluval FX6 Cleaning Mistakes to Avoid
- Fluval FX6 Cleaning Checklist
- Frequently Asked Questions
- Key Takeaway
What You Need Before Cleaning a Fluval FX6
- Clean towels: Small spills are normal when disconnecting hoses and opening the filter.
- Buckets: Use at least one bucket of removed aquarium water for rinsing filter media. Additional buckets can collect drained canister water.
- Drain hose: The FX6 drain connection accepts the supplied tubing. Flexible 3/4-inch silicone tubing can be easier to position securely in a bucket.
- A water-change system, if used: A drain hose routed to a suitable sink can reduce bucket carrying during a large water change.
- Replacement media, if required: Mechanical foam, biological rings, chemical media, or pads can be arranged before reassembly.
Set towels beneath and around the cabinet opening before starting. The towel is not optional clutter. It catches the water that remains in fittings, hoses, the lid, and media trays.
Safety First: Unplug Equipment Before Draining Water
Unplug the FX6 before servicing it. If maintenance is taking place during a water change, unplug aquarium heaters as well. A heater should not remain powered when the water level may fall below its safe operating level.
Do not turn on the FX6 drain system while the filter is still connected to the aquarium. In that situation, water can simply move from the tank through the filter and into the drain bucket, rather than emptying the canister itself.
Step 1: Drain the FX6 Canister Before Moving It
An FX6 is much easier to handle after its internal water has been removed. Keep the canister upright throughout the drain process.
- Place a towel under the lower drain area.
- Loosen the red drain control and remove the drain plug.
- Attach the drain hose securely to the drain outlet.
- Place the far end of the hose into a bucket or approved drain location.
- Close the aquarium-side hose valves and disconnect both hose assemblies from the filter lid.
- Turn on the drain function and allow the canister to empty.
Both hose assemblies need to be disconnected for the drain to run properly. A small amount of water escaping during disconnection is expected, which is why towels should already be in place.
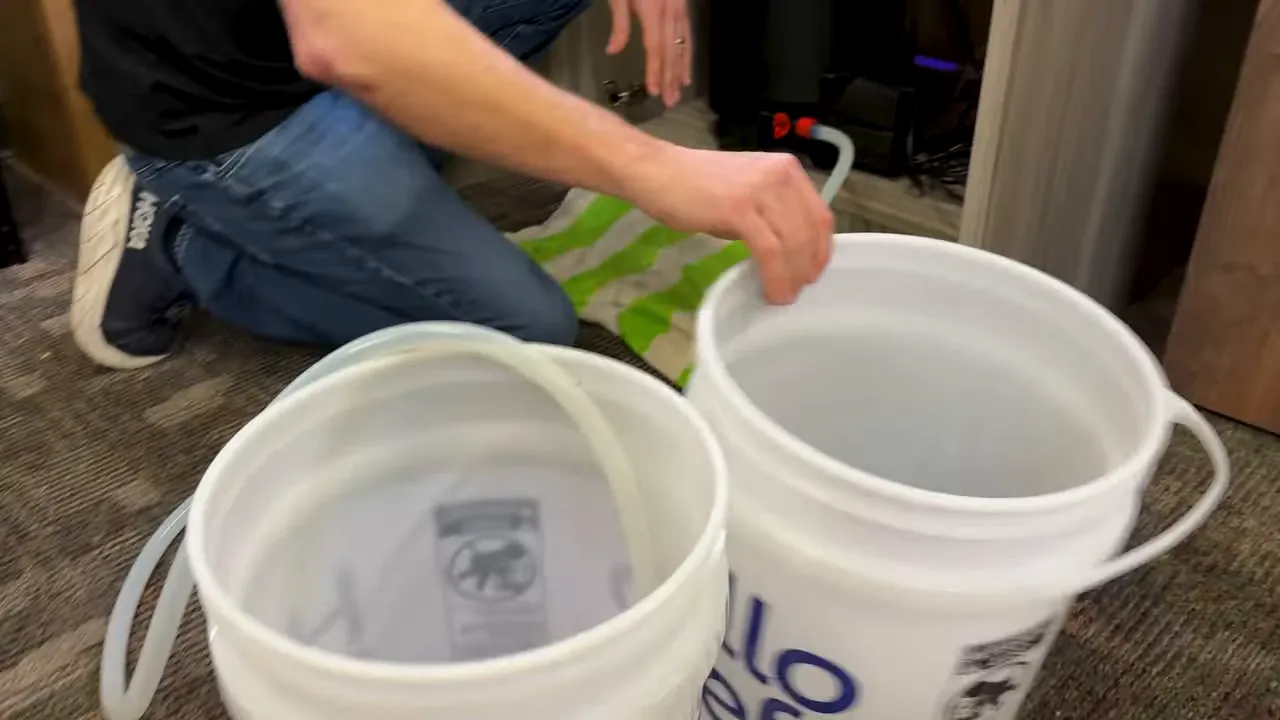
Close the Drain Before Opening the Filter
Once water stops flowing, turn off the drain control, remove the hose, and reinstall the drain plug fully. Do this before removing the lid clamps or moving the canister. An unsecured drain port is an easy way to create an unnecessary spill.
Step 2: Open the Filter and Remove the Media Stack
Release the lid clamps gradually. Avoid loosening them so far that they detach completely from the canister. Open the lid carefully because water can remain on its upper surface.
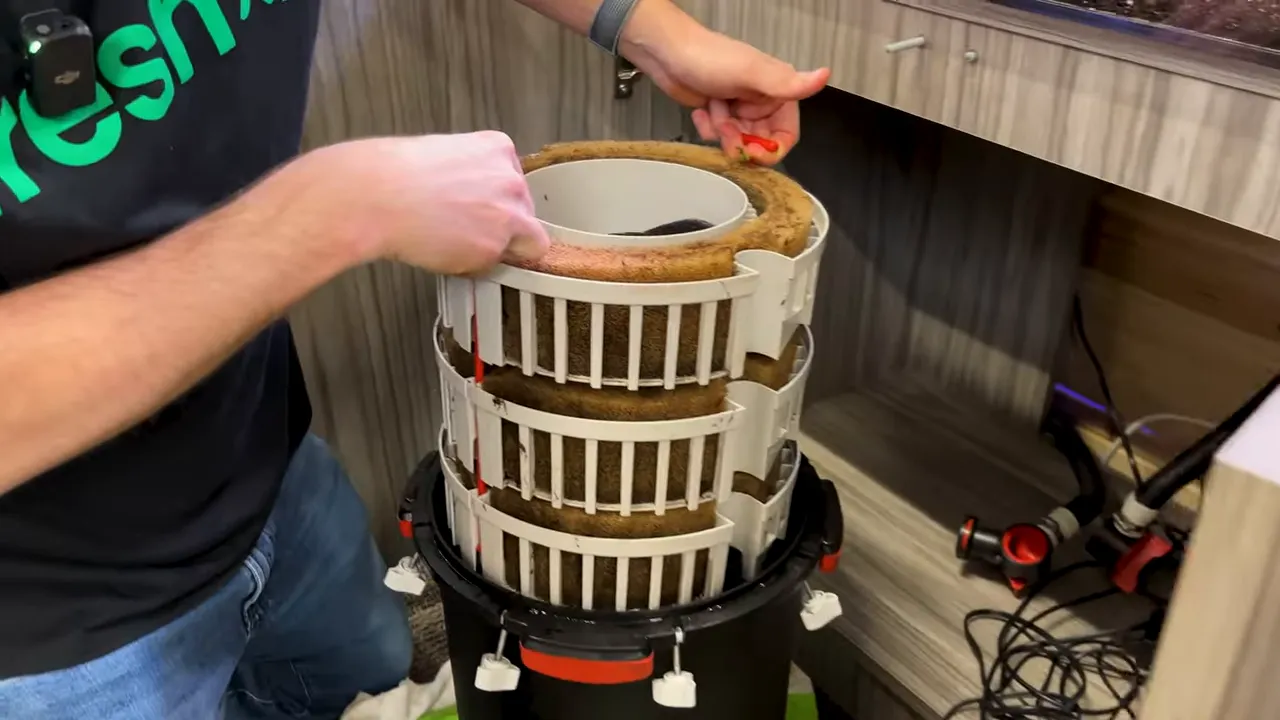
The FX6 media baskets can be lifted out together using their handles. Hold the stack over the canister briefly and gently tip it back and forth to let retained water and debris drain back into the filter body.
The individual baskets are interchangeable, so there is no need to panic if the exact basket order is forgotten. What matters is rebuilding the media according to the intended water path.
How Water Flows Through a Fluval FX6
Understanding flow direction helps you place mechanical, biological, and chemical media in useful positions.
Water enters the FX6 and moves around the outside of the stacked media baskets, passing through the external mechanical filtration. It then moves through the central basket chambers and travels downward through the media before returning upward and out to the aquarium.
This means the media at the top is the first central media the incoming water encounters. Place coarse mechanical filtration where it can intercept debris early, then use the remaining baskets for the biological and chemical media needed by the aquarium.
A Practical FX6 Media Layout
The FX6 has large baskets and supports a flexible media arrangement. A practical setup can include:
- Mechanical filtration: Foam or pads to trap suspended debris. Place foam with its textured or bumpy side facing the incoming water where applicable.
- Biological filtration: Bio rings, ceramic media, lava rock, or similar porous media that provides surface area for beneficial bacteria.
- Chemical filtration: Media such as activated carbon pads or Purigen, used when appropriate for the aquarium's needs.
Use a layout that fits the media you have and preserves sensible flow. The filter does not require every basket to contain a different category, but mechanical media should protect the biological and chemical media from becoming unnecessarily clogged.
Step 3: Clean FX6 Filter Media Without Damaging Beneficial Bacteria
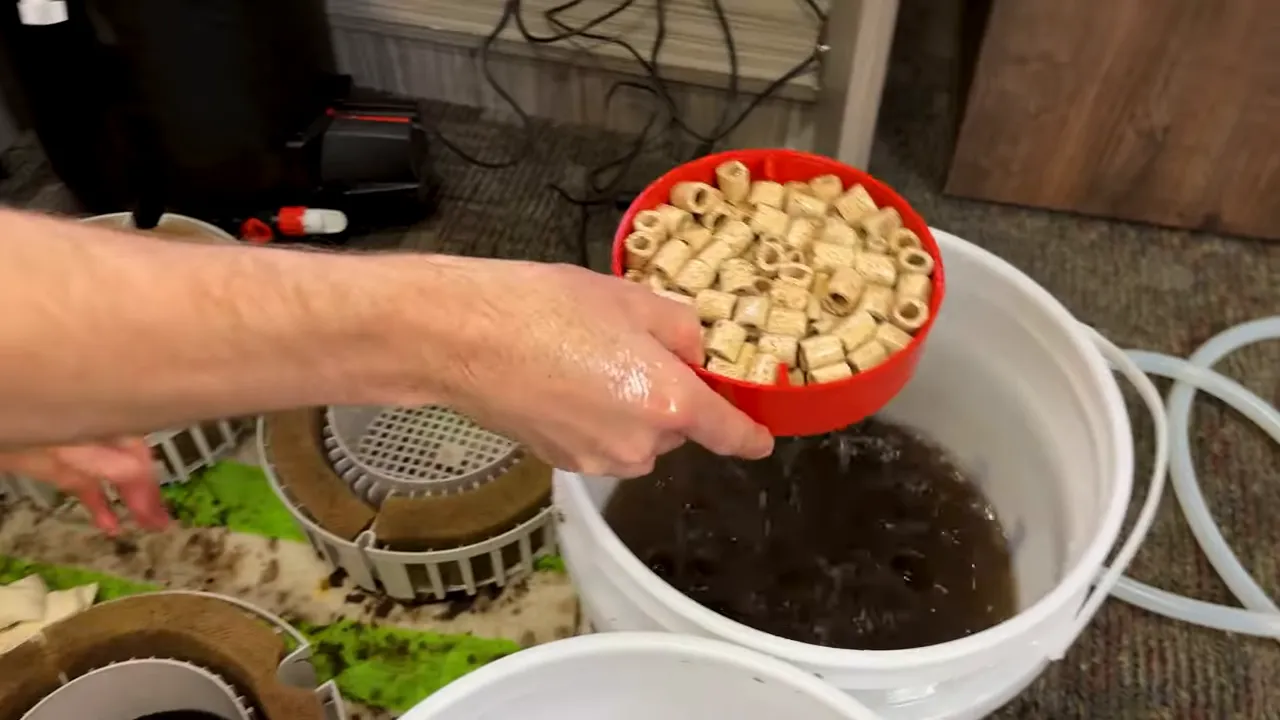
Biological media contains beneficial bacteria that support the aquarium's nitrogen cycle. Do not rinse it under untreated tap water. Instead, keep biological rings or other bio-media submerged in old aquarium water while cleaning the rest of the filter.
How to Clean Each Type of Media
- Foam and mechanical pads: Swish or gently squeeze them in removed aquarium water. The objective is to release accumulated debris, not restore them to a spotless condition.
- Biological media: Keep it wet in aquarium water and lightly rinse only if it is heavily coated with debris.
- Chemical media: Handle according to the media type and its intended use. Rinse or refresh it as appropriate before returning it to the basket.
Do not aggressively blast sponges or biological media. Over-cleaning can remove useful bacterial populations and defeats the purpose of maintaining a mature filter.
Do You Need to Replace All the FX6 Media?
No. Filter cleaning is primarily about removing trapped debris while preserving functioning biological media. Replace or add media only when it has worn out, broken down, or no longer serves its purpose. Avoid replacing all biological media at once, because that can reduce the filter's established bacterial capacity.
Step 4: Rebuild the Basket Stack
Once the media has been rinsed and arranged, snap the baskets back together and secure the red retaining components. Confirm that the stack is straight, stable, and can be lowered vertically into the canister.
When placing the baskets back, make sure the stack settles properly in the filter. A misaligned basket stack can prevent the lid from seating correctly.
Reinstall the Lid Carefully
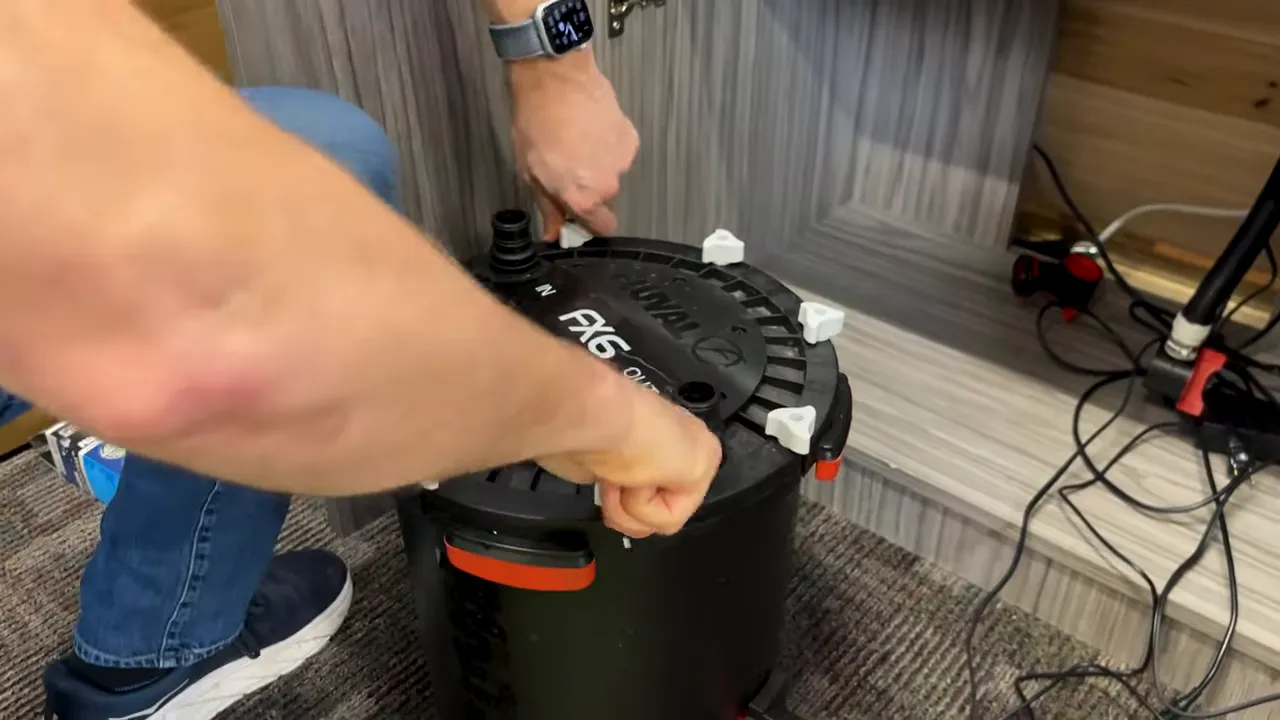
Place the lid back on the canister and check that it sits snugly before fastening the clamps. Tighten the clamps in opposite positions, similar to tightening wheel nuts on a vehicle. This helps apply pressure evenly around the lid seal.
After working around the lid, complete a final pass around all clamps to ensure each one is fully secured. A poorly seated lid or loose clamp can lead to leakage when the filter restarts.
Step 5: Reconnect and Prime the Fluval FX6
With the filter empty, it is lighter and easier to return to the cabinet. Position it upright beneath the aquarium, then reconnect the two hose assemblies. Each connection should press down and click into place.
- Return the canister to its normal location beneath the aquarium.
- Reconnect both hose assemblies to the lid.
- Open the hose valves so aquarium water can flow into the filter.
- Plug the FX6 back in.
- Allow the filter to self-prime and resume normal operation.
The FX6 is self-priming. As water enters the filter, the canister becomes heavier and the unit begins cycling water. Initial changes in sound, including brief burping or intermittent operation, are normal during the priming process as air is expelled.
Once water has refilled the canister and flow has resumed, replace any aquarium water removed during maintenance. Check the lid, hose connections, and drain port for drips before closing the cabinet.
Common Fluval FX6 Cleaning Mistakes to Avoid
Trying to drain the filter while it is still connected to the tank
Close the valves and disconnect both hose assemblies first. Otherwise, the system can drain aquarium water instead of emptying the canister.
Forgetting to reinstall the drain plug
After draining, close the drain control, remove the hose, and reinstall the plug immediately. Do not leave this task until after the filter has been opened.
Rinsing biological media with tap water
Use removed aquarium water for rinsing. This protects the bacteria living on biological media and reduces disruption to filtration.
Cleaning foam until it looks brand new
Mechanical media only needs enough cleaning to restore water flow. Gentle squeezing in aquarium water is sufficient.
Ignoring water flow when arranging media
Mechanical foam should intercept debris early in the water path. Biological and chemical media work better when they are protected from large particulate waste.
Failing to inspect the lid seal and clamps
Confirm that the lid is seated correctly and every clamp is secure before restarting the filter. This is the final defence against leaks.
Fluval FX6 Cleaning Checklist
- Unplug the FX6.
- Unplug heaters if the water level is being lowered.
- Lay out towels and prepare buckets of aquarium water.
- Attach the drain hose and empty the canister.
- Close the drain and reinstall the plug.
- Close hose valves and disconnect both hose assemblies.
- Remove the lid and lift out the basket stack.
- Keep biological media wet in aquarium water.
- Gently rinse foam, pads, and media as needed.
- Reassemble media according to the water path.
- Seat the lid and tighten clamps in opposing positions.
- Reconnect hoses, open valves, and plug in the filter.
- Allow self-priming to complete and inspect for leaks.
Frequently Asked Questions
Should I unplug my heater when cleaning a Fluval FX6?
Yes, unplug heaters if cleaning includes a water change that lowers the aquarium water level. This prevents a heater from operating without adequate water around it.
Can I rinse Fluval FX6 media under tap water?
Rinse biological media and filter foam in removed aquarium water. This helps preserve beneficial bacteria and avoids exposing the media to untreated tap water.
Why is my FX6 making burping sounds after cleaning?
Burping and temporary changes in operating sound can occur while the FX6 self-primes and pushes air out of the canister and plumbing. Allow the filter time to complete its priming cycle.
Does the order of the FX6 media baskets matter?
The baskets themselves are interchangeable, but the media arrangement matters. Build the stack so mechanical filtration handles debris early in the water path, while biological and chemical media remain protected and accessible to filtered water.
Why should I drain the FX6 before moving it?
The canister holds a significant amount of water. Draining it first makes it much lighter, easier to move, and less likely to spill while it is outside the cabinet.
Key Takeaway
The cleanest way to maintain a Fluval FX6 is to treat the job as a controlled sequence: unplug equipment, drain the canister, isolate the hoses, preserve biological media in aquarium water, rebuild the baskets with water flow in mind, and let the filter self-prime after reconnection. Careful setup and a few towels turn a potentially messy task into routine aquarium maintenance.